> ## Documentation Index
> Fetch the complete documentation index at: https://docs.elementary-data.com/llms.txt
> Use this file to discover all available pages before exploring further.
# Setup Slack Alerts
## Setup Slack Integration
**Before you start**
Before you can start using the alerts, make sure to [install the dbt package](/oss/quickstart/quickstart-cli-package), [configure a profile and install the CLI](/oss/quickstart/quickstart-cli).
This is **required for the alerts to work.**
First create a Slack app:
## 1. Create a Slack app
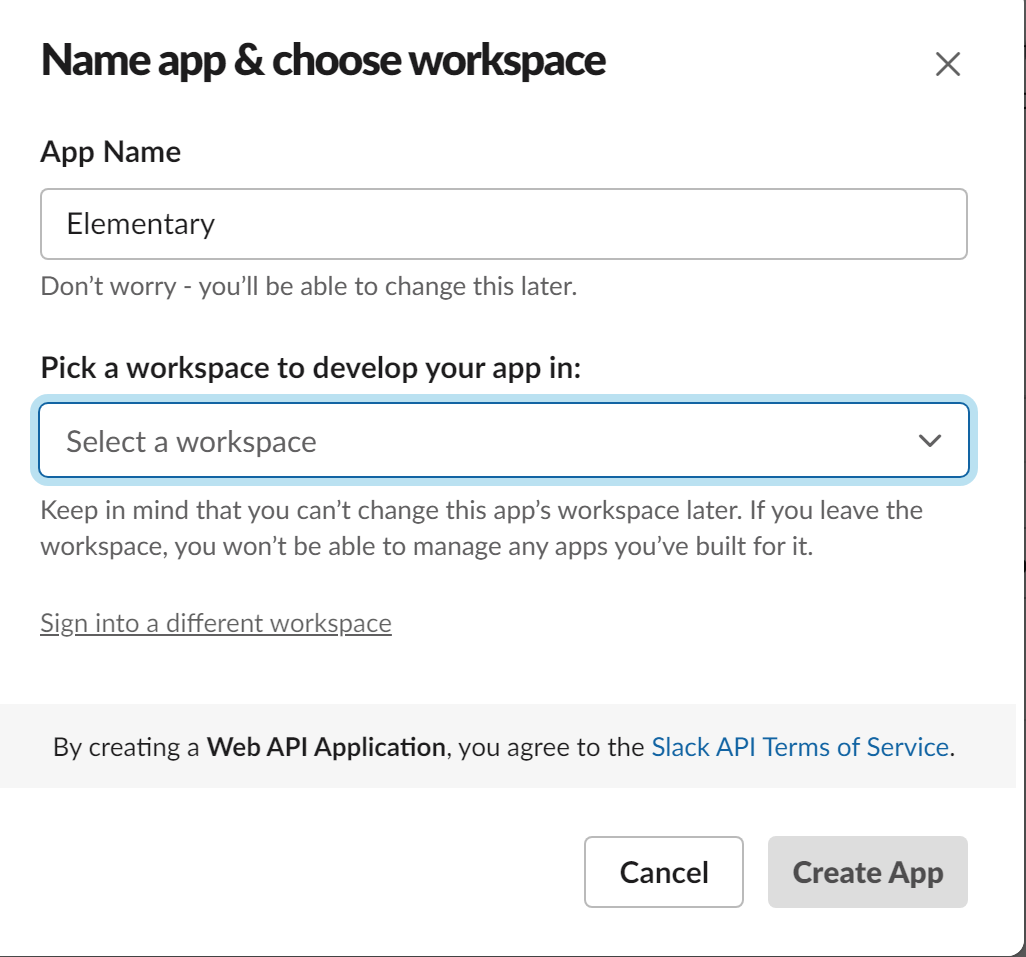
Go to the [Slack page to create apps](https://api.slack.com/apps?new_app=1) and create a new app (from scratch).
Call it "[Elementary](#slack-app-display)" and connect it to the workspace of your choice.
 ## 2. Optional - Slack app display
To change the display of the Elementary slack app, scroll down on the Slack app basic information page to the 'Display Information' section:
## 2. Optional - Slack app display
To change the display of the Elementary slack app, scroll down on the Slack app basic information page to the 'Display Information' section:
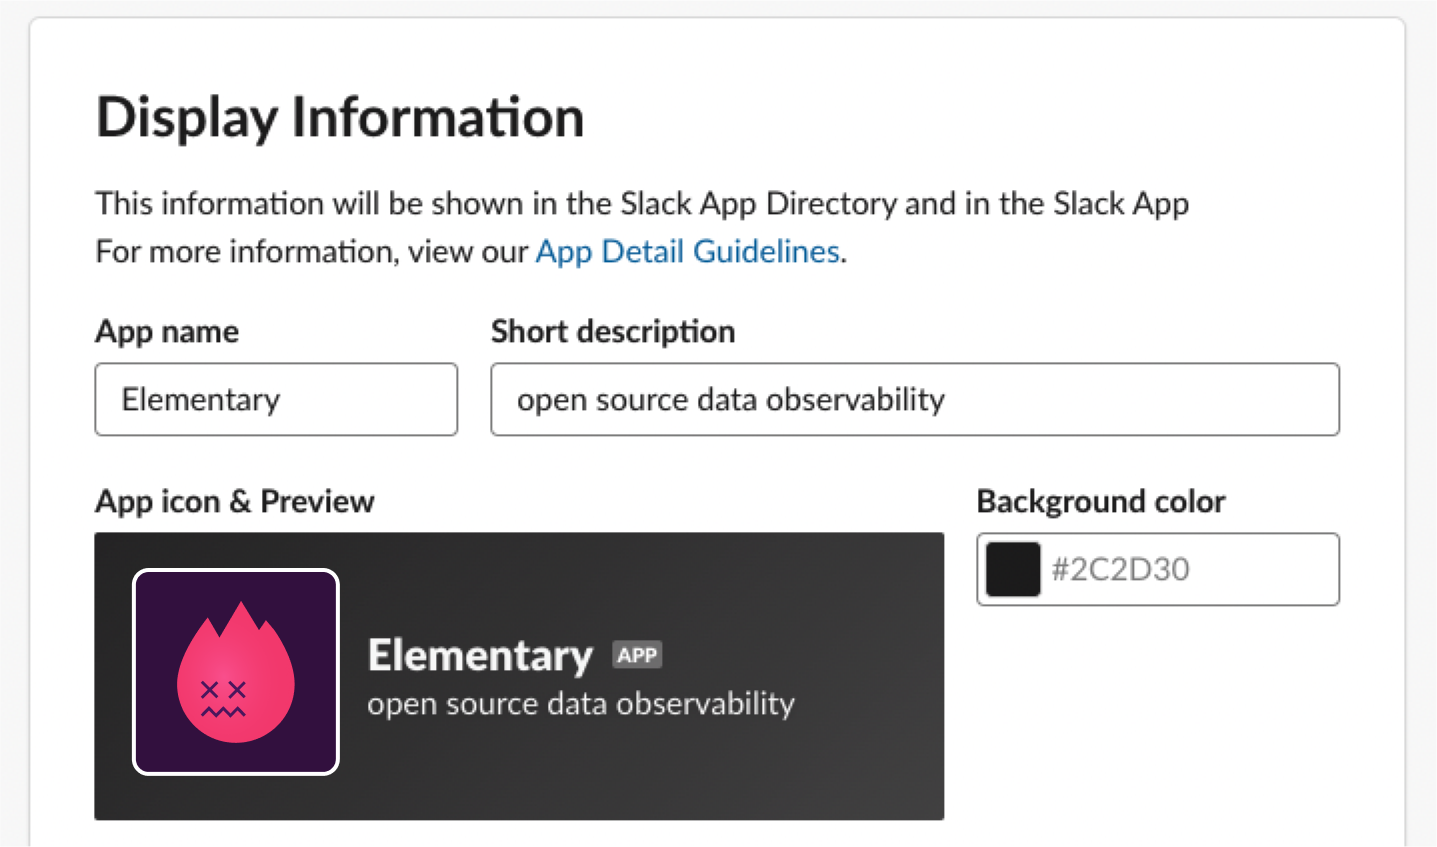 Here is the Elementary icon for your use (click to download):
 Based on the method you selected, create a [token or webhook](/oss/deployment-and-configuration/slack#token-vs-webhook):
## 1. Create a Slack token
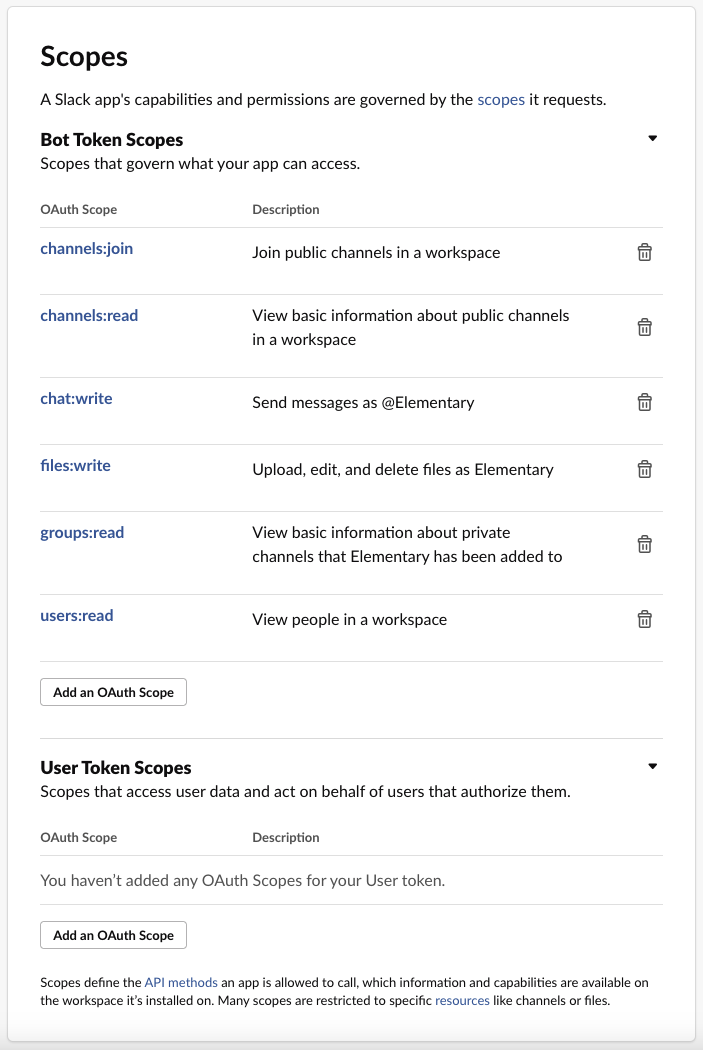
Go to the "OAauth & Permissions" page for your newly-created app, and add the following scopes under "Bot Token Scopes":
* `channels:join` - Join public channels in a workspace
* `channels:read` - View basic information about public channels in a workspace
* `chat:write` - Send messages as \
* `files:write` - Upload, edit, and delete files as \
* `users:read` - View people in a workspace
* `users:read.email` - View email addresses of people in a workspace
* `groups:read` - View basic information about private channels that your slack app has been added to
Based on the method you selected, create a [token or webhook](/oss/deployment-and-configuration/slack#token-vs-webhook):
## 1. Create a Slack token
Go to the "OAauth & Permissions" page for your newly-created app, and add the following scopes under "Bot Token Scopes":
* `channels:join` - Join public channels in a workspace
* `channels:read` - View basic information about public channels in a workspace
* `chat:write` - Send messages as \
* `files:write` - Upload, edit, and delete files as \
* `users:read` - View people in a workspace
* `users:read.email` - View email addresses of people in a workspace
* `groups:read` - View basic information about private channels that your slack app has been added to
 ## 2. Install app at your Workspace
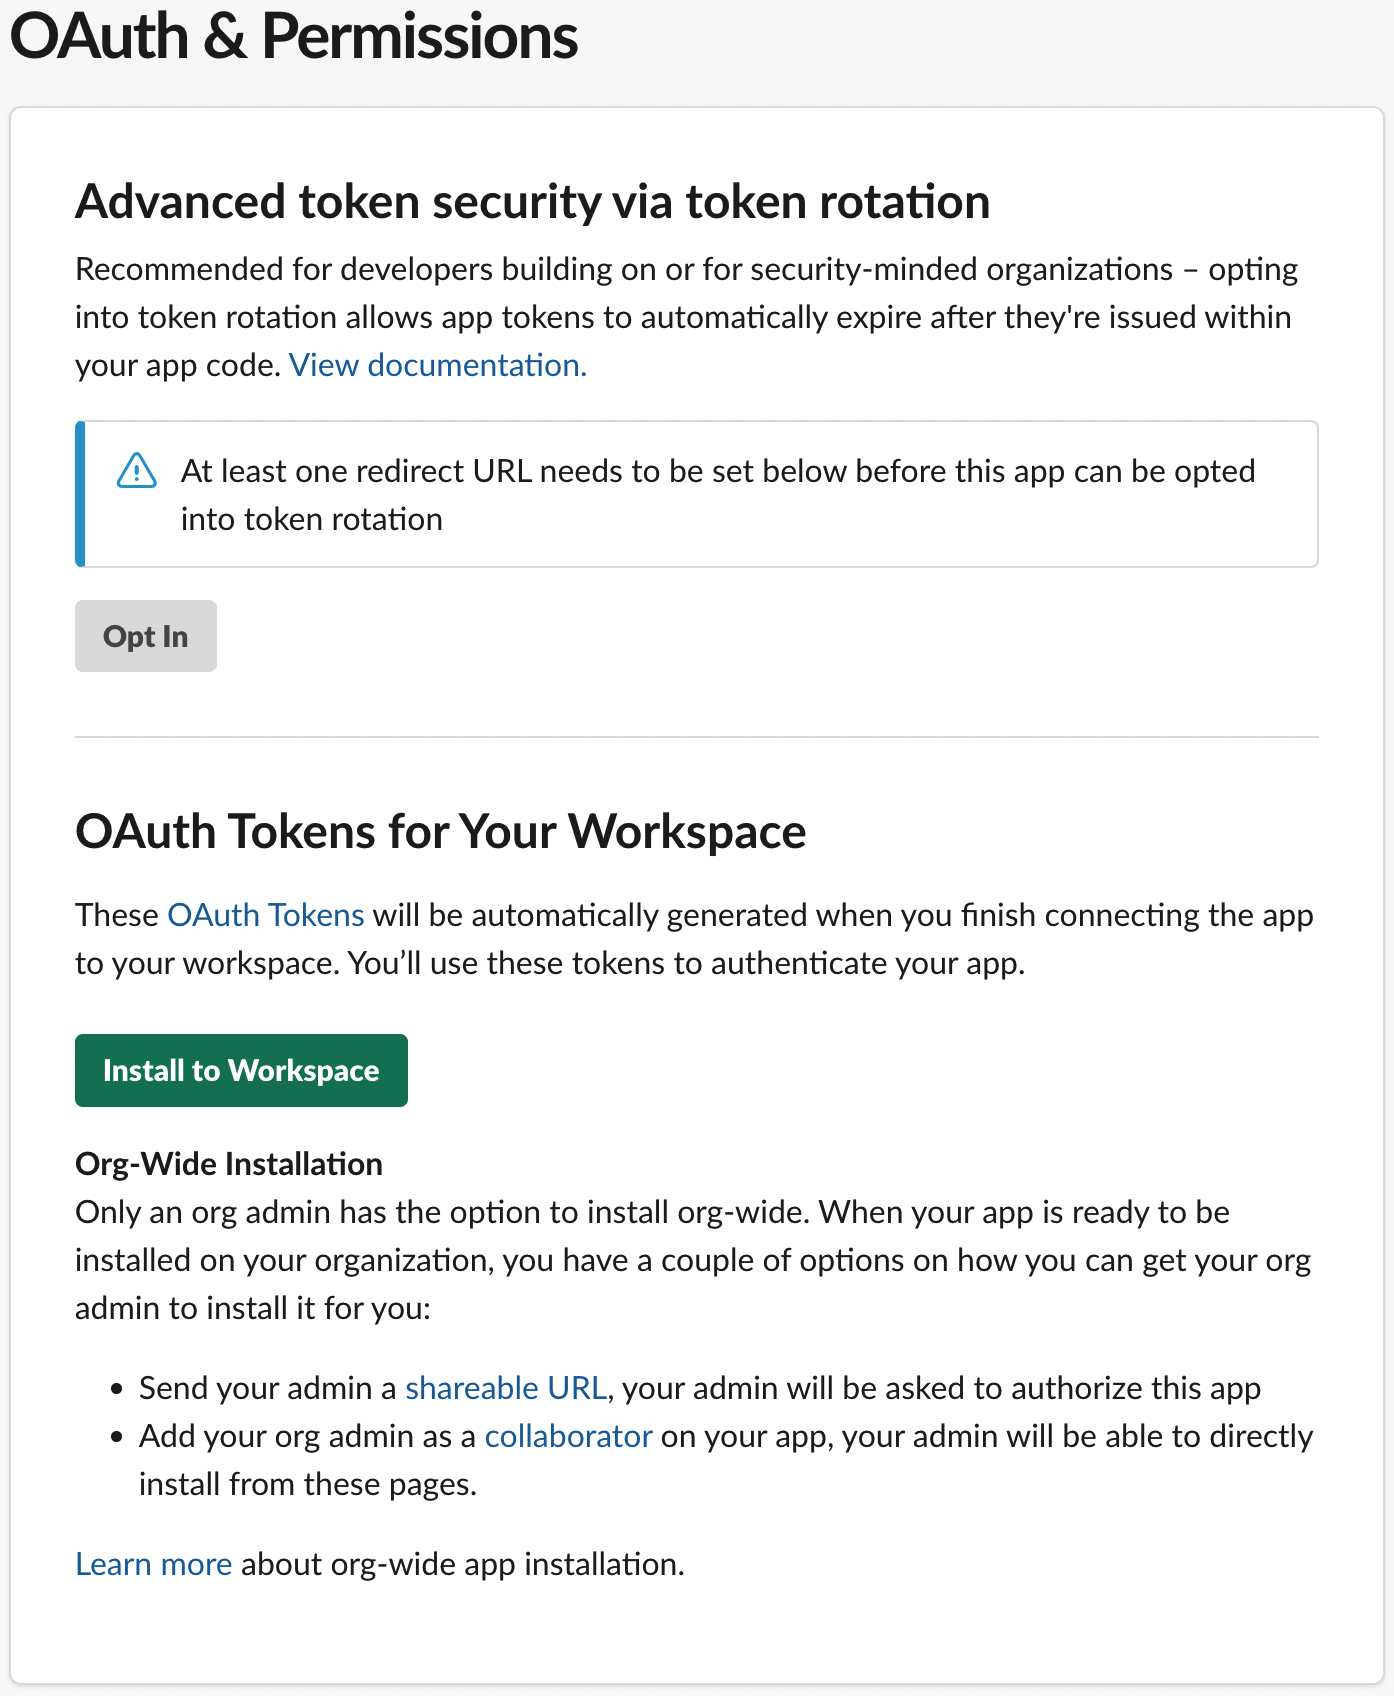
At the "OAuth & Permissions" page, press on "Install to Workspace" in order to generate Slack token:
## 2. Install app at your Workspace
At the "OAuth & Permissions" page, press on "Install to Workspace" in order to generate Slack token:
 ## Create a webhook
Go to the 'Incoming Webhooks' page for your newly-created app and toggle 'Activate Incoming Webhooks' to turn it on. Then click on 'Add New Webhook to Workspace':
## Create a webhook
Go to the 'Incoming Webhooks' page for your newly-created app and toggle 'Activate Incoming Webhooks' to turn it on. Then click on 'Add New Webhook to Workspace':
 Select the channel that the notifications will be posted to:
 Lastly, pass the token / webhook to the CLI as a param or in the `config.yml` file:
## Token:
Use the Slack token when you execute edr monitor using the option `-st, --slack-token` and `-ch, --slack-channel-name`:
```shell theme={null}
edr monitor --slack-token --slack-channel-name
```
## Webhook:
Use the webhook URL when you execute edr monitor using the option `-s, --slack-webhook`:
```shell theme={null}
edr monitor --slack-webhook
```
The CLI reads the Slack integration from a file, copy it into a file called config.yml.
Create it here: `HOME_DIR/.edr/config.yml`
Here is the format in the yml itself:
## Token:
```yml config.yml theme={null}
slack:
token:
channel_name:
group_alerts_by: <"table"> or <"alert">
# optional #
timezone:
```
## Webhook:
```yml config.yml theme={null}
slack:
notification_webhook:
group_alerts_by: <"table"> or <"alert">
# optional #
workflows: false
# optional #
timezone:
```
## Execute the CLI
Make sure to run the following command after your dbt runs and tests:
```
edr monitor --slack-token --slack-channel-name --group-by [table | alert]
```
Or just `edr monitor` if you used `config.yml`. Please note that when you specify the --slack-channel-name, it's the
default channel name to which all the alerts will be sent that are not attributed to any custom channel. Therefore,
if you execute several `edr monitor` commands at the same time with different `slack-channel-name` arguments, they can
be sent to the wrong one due to the overlap accessing the backend table of elementary. For avoiding this problem,
[the guide](/oss/guides/alerts/alerts-configuration#custom-channel) can be followed.
***
## Alert on source freshness failures
To alert on source freshness, follow [this guide](/oss/guides/collect-dbt-source-freshness).
## Continuous alerting
In order to monitor continuously, use your orchestrator to execute it regularly (we recommend running it right after
your dbt job ends to monitor the latest data updates).
Read more about how to deploy [Elementary in production](/oss/deployment-and-configuration/elementary-in-production).
If you need help or wish to consult on this, reach out to us
on [Slack](https://elementary-data.com/community).
Lastly, pass the token / webhook to the CLI as a param or in the `config.yml` file:
## Token:
Use the Slack token when you execute edr monitor using the option `-st, --slack-token` and `-ch, --slack-channel-name`:
```shell theme={null}
edr monitor --slack-token --slack-channel-name
```
## Webhook:
Use the webhook URL when you execute edr monitor using the option `-s, --slack-webhook`:
```shell theme={null}
edr monitor --slack-webhook
```
The CLI reads the Slack integration from a file, copy it into a file called config.yml.
Create it here: `HOME_DIR/.edr/config.yml`
Here is the format in the yml itself:
## Token:
```yml config.yml theme={null}
slack:
token:
channel_name:
group_alerts_by: <"table"> or <"alert">
# optional #
timezone:
```
## Webhook:
```yml config.yml theme={null}
slack:
notification_webhook:
group_alerts_by: <"table"> or <"alert">
# optional #
workflows: false
# optional #
timezone:
```
## Execute the CLI
Make sure to run the following command after your dbt runs and tests:
```
edr monitor --slack-token --slack-channel-name --group-by [table | alert]
```
Or just `edr monitor` if you used `config.yml`. Please note that when you specify the --slack-channel-name, it's the
default channel name to which all the alerts will be sent that are not attributed to any custom channel. Therefore,
if you execute several `edr monitor` commands at the same time with different `slack-channel-name` arguments, they can
be sent to the wrong one due to the overlap accessing the backend table of elementary. For avoiding this problem,
[the guide](/oss/guides/alerts/alerts-configuration#custom-channel) can be followed.
***
## Alert on source freshness failures
To alert on source freshness, follow [this guide](/oss/guides/collect-dbt-source-freshness).
## Continuous alerting
In order to monitor continuously, use your orchestrator to execute it regularly (we recommend running it right after
your dbt job ends to monitor the latest data updates).
Read more about how to deploy [Elementary in production](/oss/deployment-and-configuration/elementary-in-production).
If you need help or wish to consult on this, reach out to us
on [Slack](https://elementary-data.com/community).
