Enabling SAML
In order to enable SAML using Microsoft Entra ID (Previously Azure AD SSO), we need the following steps to be taken:Configure Microsoft Entra ID application
Configure Microsoft Entra ID application
- Go to the Microsoft Entra portal
- On the left, choose Applications → Enterprise Applications

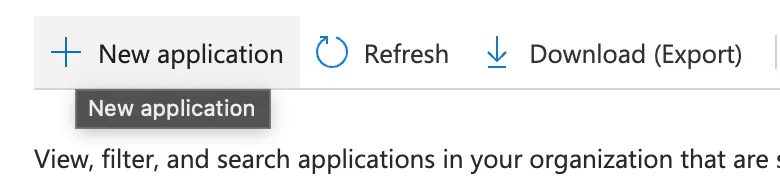
- Click on “New Application”
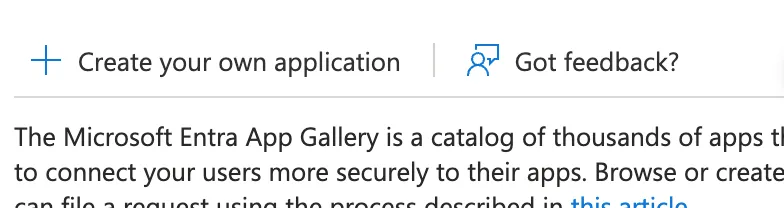
- Click on “Create your own application”
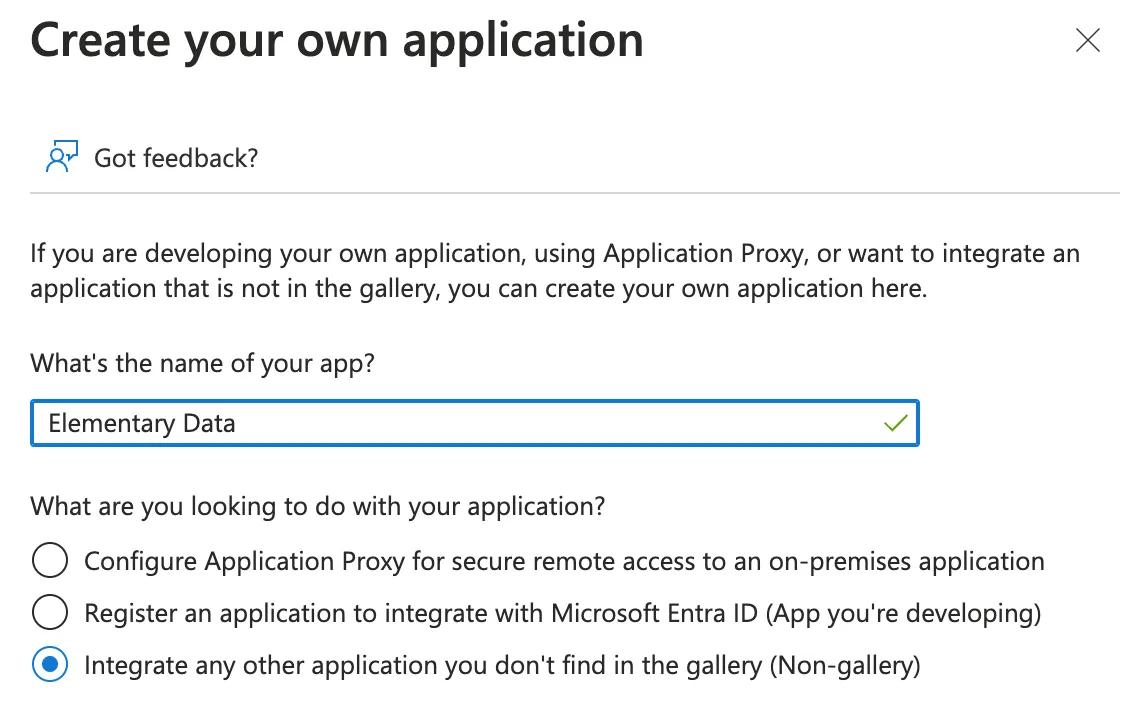
- Choose the last option in the side-window that opens and click “Create”
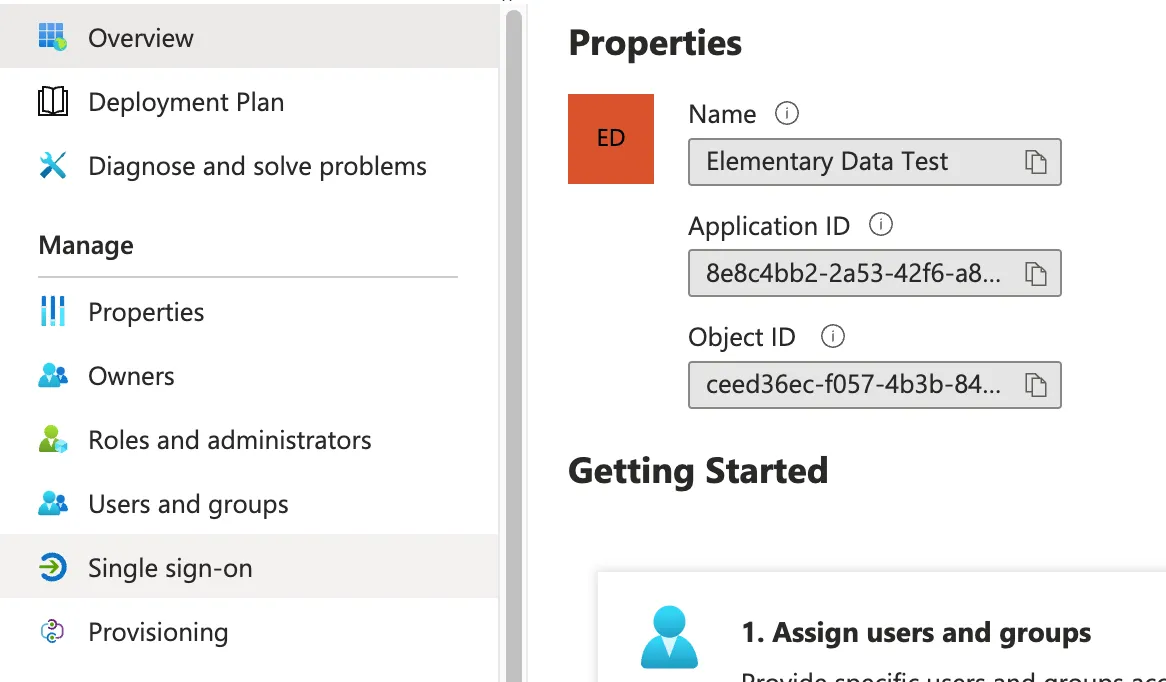
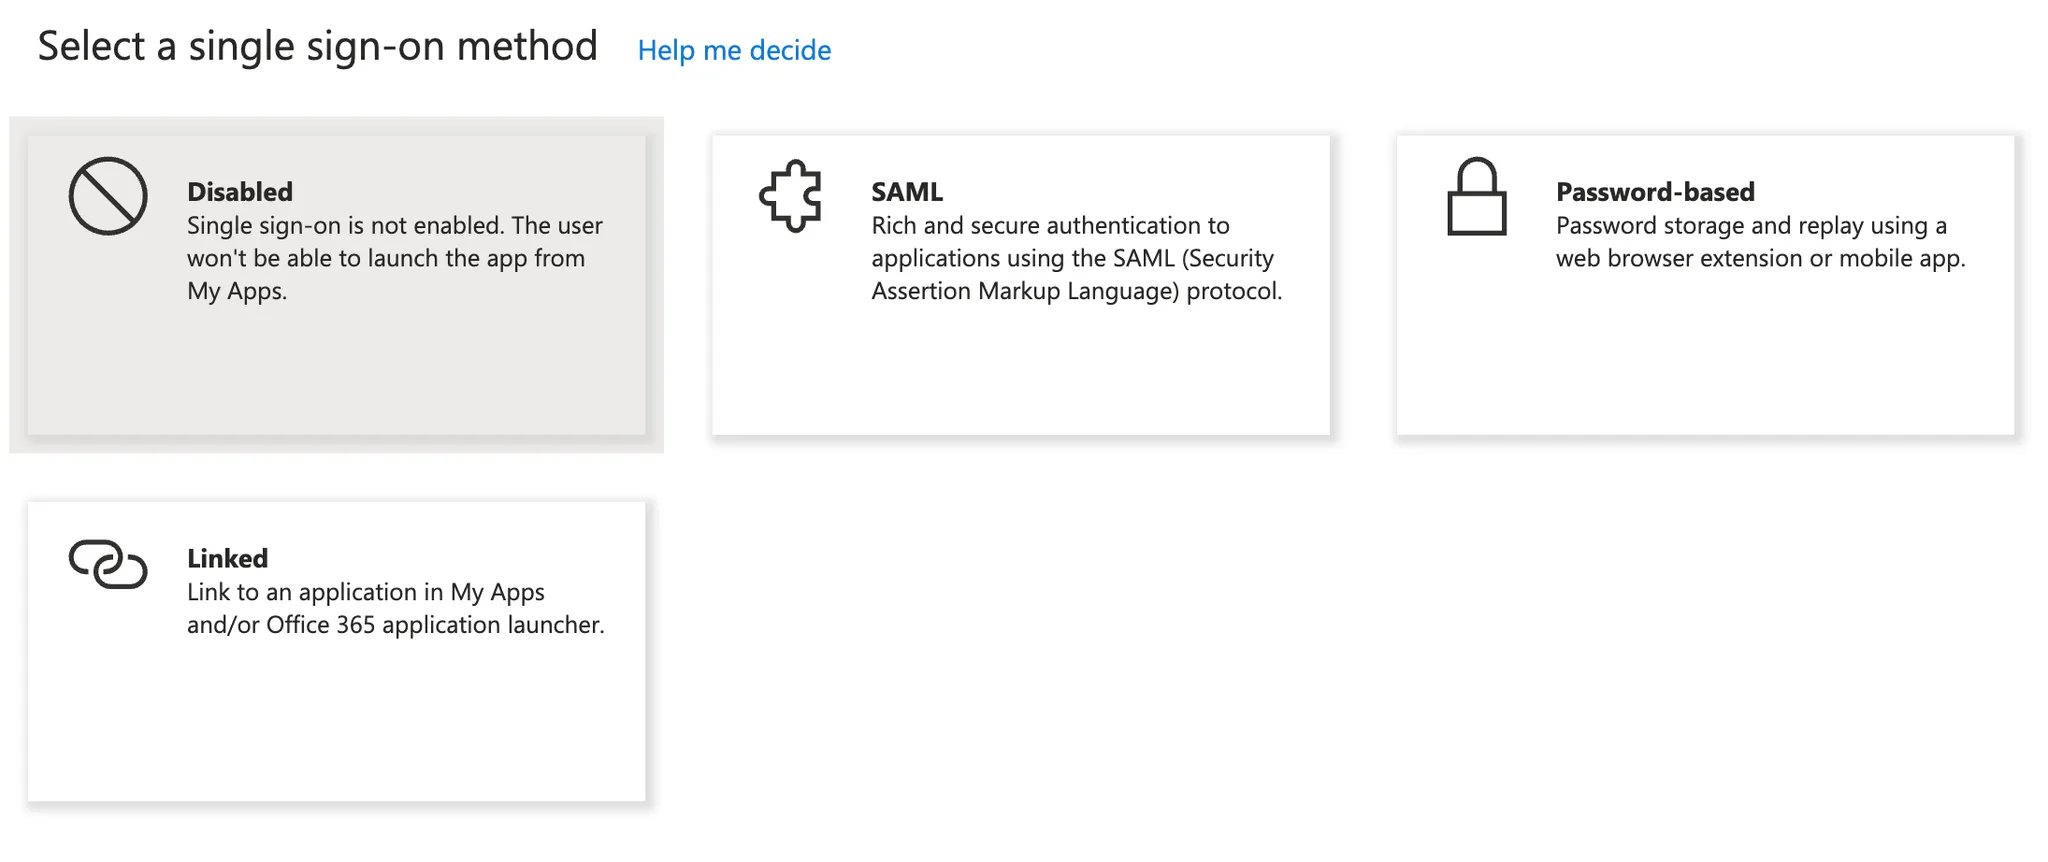
- In the App window that opens, click on “Single Sign-On”
- Choose SAML
- Click on Edit on the “Basic SAML Configuration” section
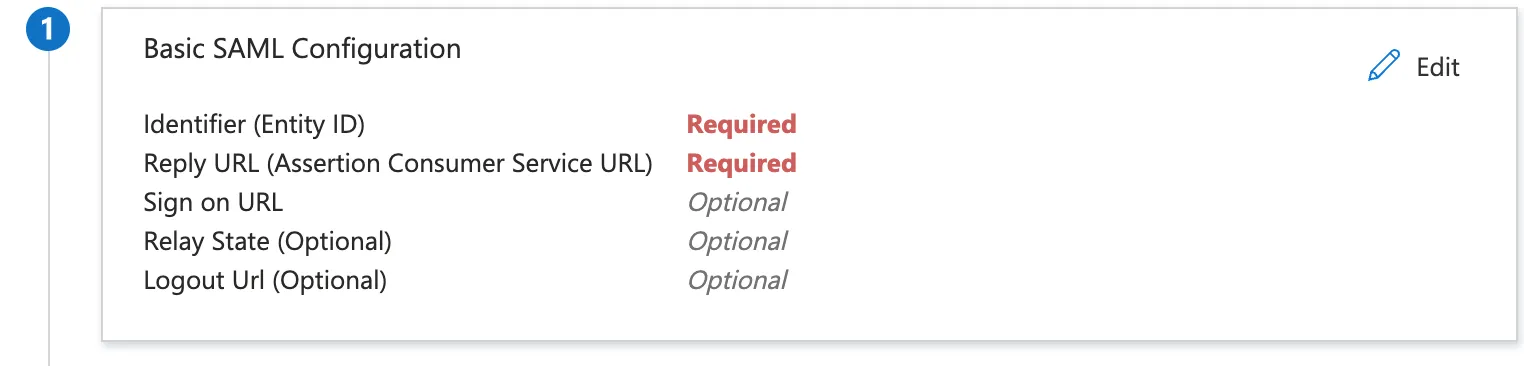
- Fill the following entries:
- Identifier (Entity ID) -
elementary - Reply URL -
https://elementary-data.frontegg.com/auth/saml/callback
- Identifier (Entity ID) -
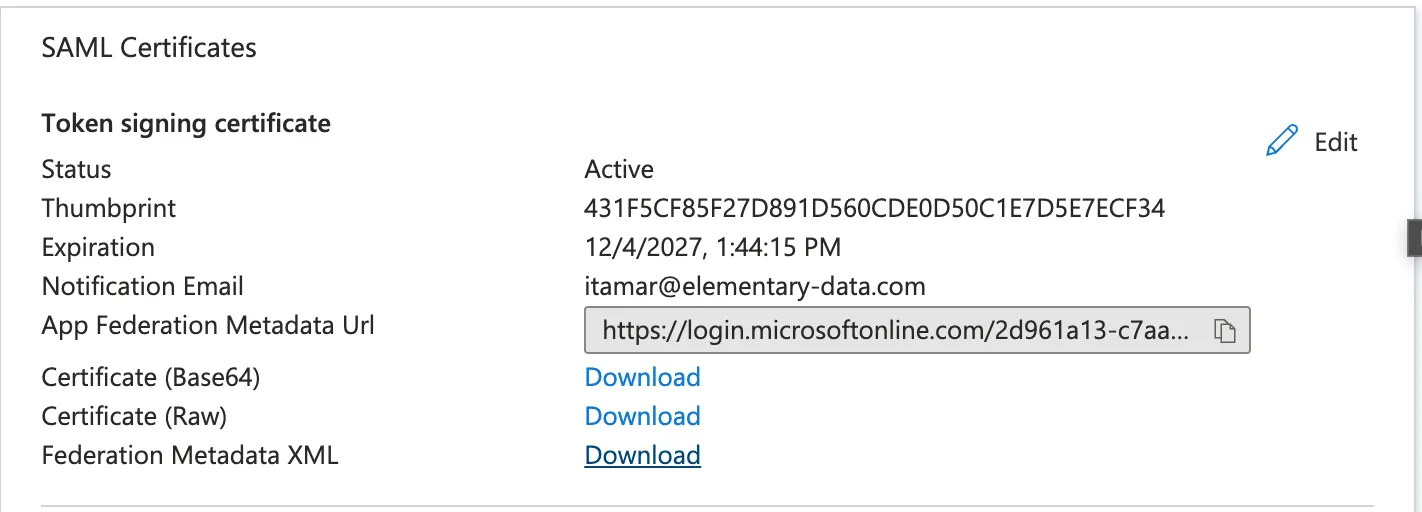
- Download the Federation Metadata XML.
Configure SSO in Elementary
Configure SSO in Elementary
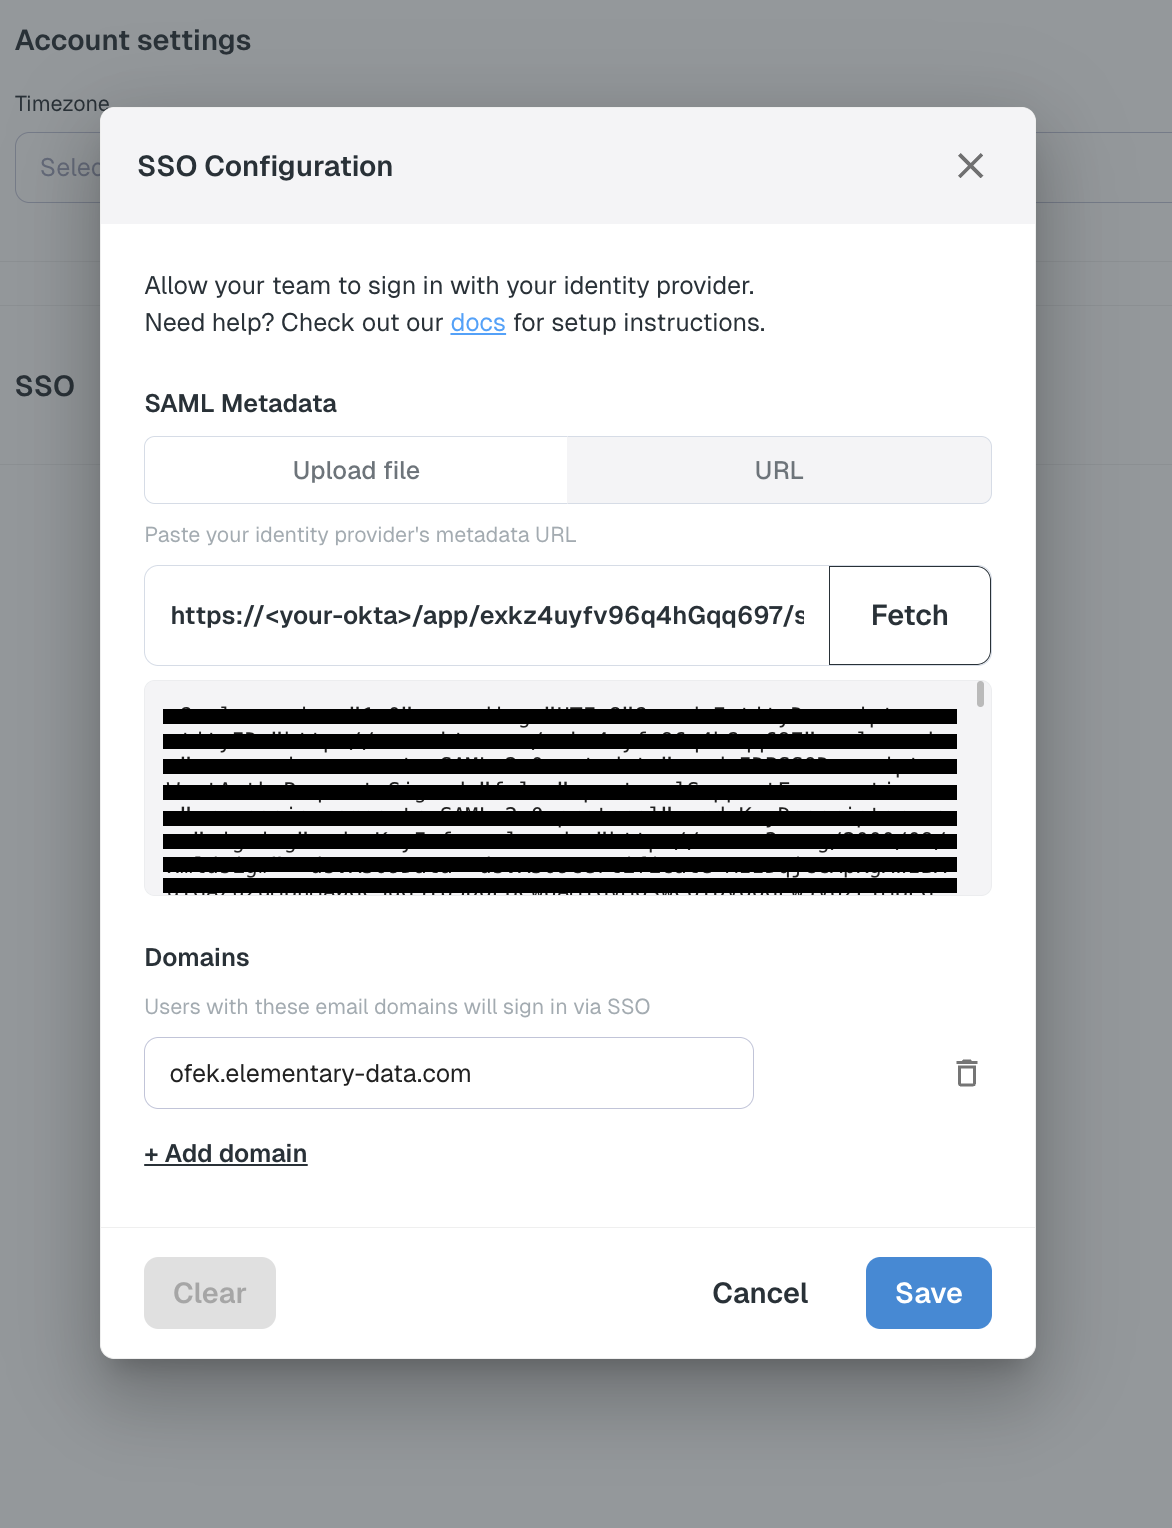
- Go to your account settings page in Elementary (Your avatar in the top right corner -> Account -> Settings)
- In the SSO section, click on “Configure connection”
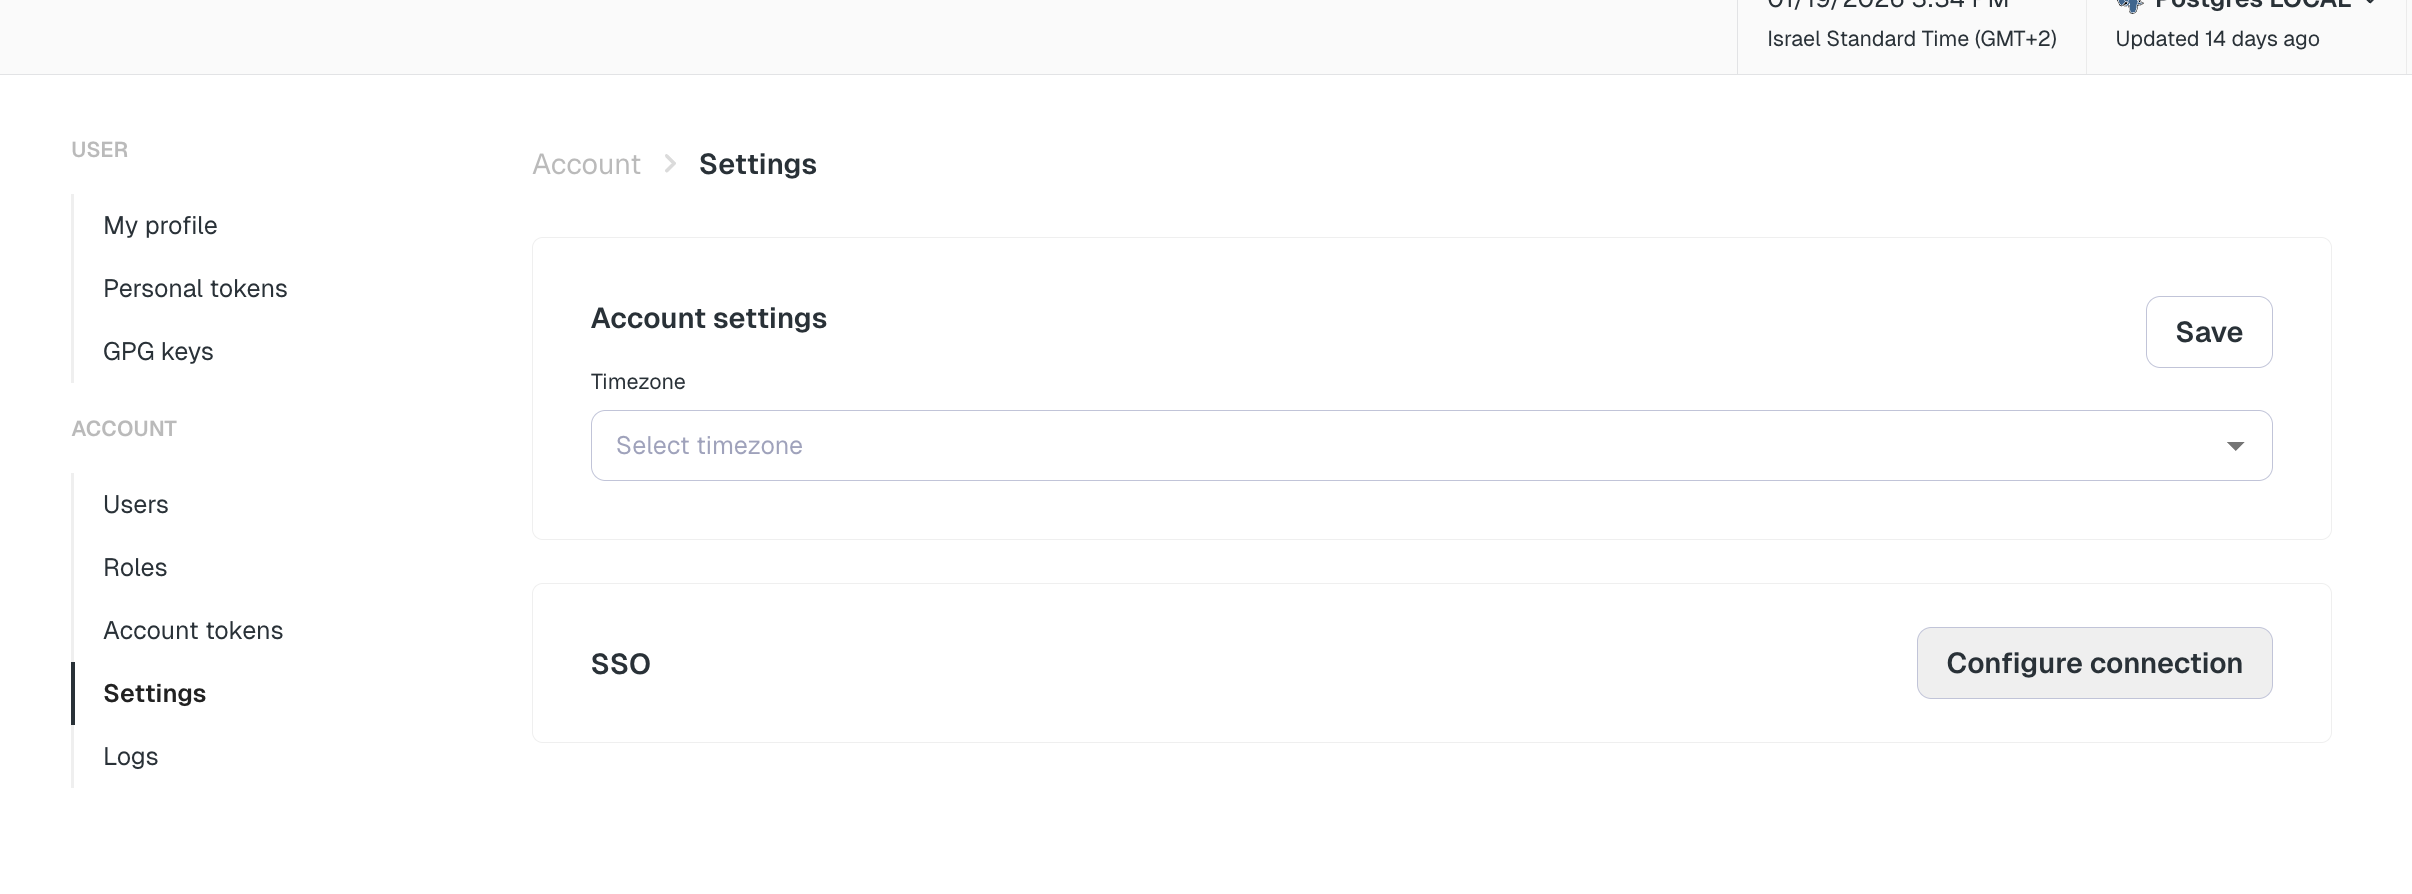
- Fill in the form with the following details:
- SAML Metadata: Choose “Upload file”, upload the Federation Metadata XML you downloaded.
- Domains: Add the domains you want to allow access to Elementary.
- Click on “Save” to save the configuration.
Make sure to verify that login works in an incognito window or with another user before logging out.
If it does not, disable the SSO configuration immediately and contact the Elementary team.
Provisioning
Elementary supports user provisioning via SCIM to automate user management. If you want to enable automatic provisioning, follow these steps:Configure Provisioning in Elementary
Configure Provisioning in Elementary
- Go to your account settings page in Elementary (Your avatar in the top right corner -> Account -> Settings)
- In the Provisioning section, click on “Configure”
- Choose “Azure AD”, and click “Create” to create a new URL and token for provisioning
- DO NOT close this dialog until you have configured SCIM in Azure AD
Configure SCIM in Azure AD
Configure SCIM in Azure AD
- In the Microsoft Entra portal, go to Enterprise Applications and select the newly created SAML application.
- Navigate to Provisioning and click Get Started.
- Set the Provisioning Mode to Automatic.
- Configure the Tenant URL and Secret Token - value from Elementary Provisioning section
- Click Test Connection to validate the setup.
- Enable provisioning and save changes.