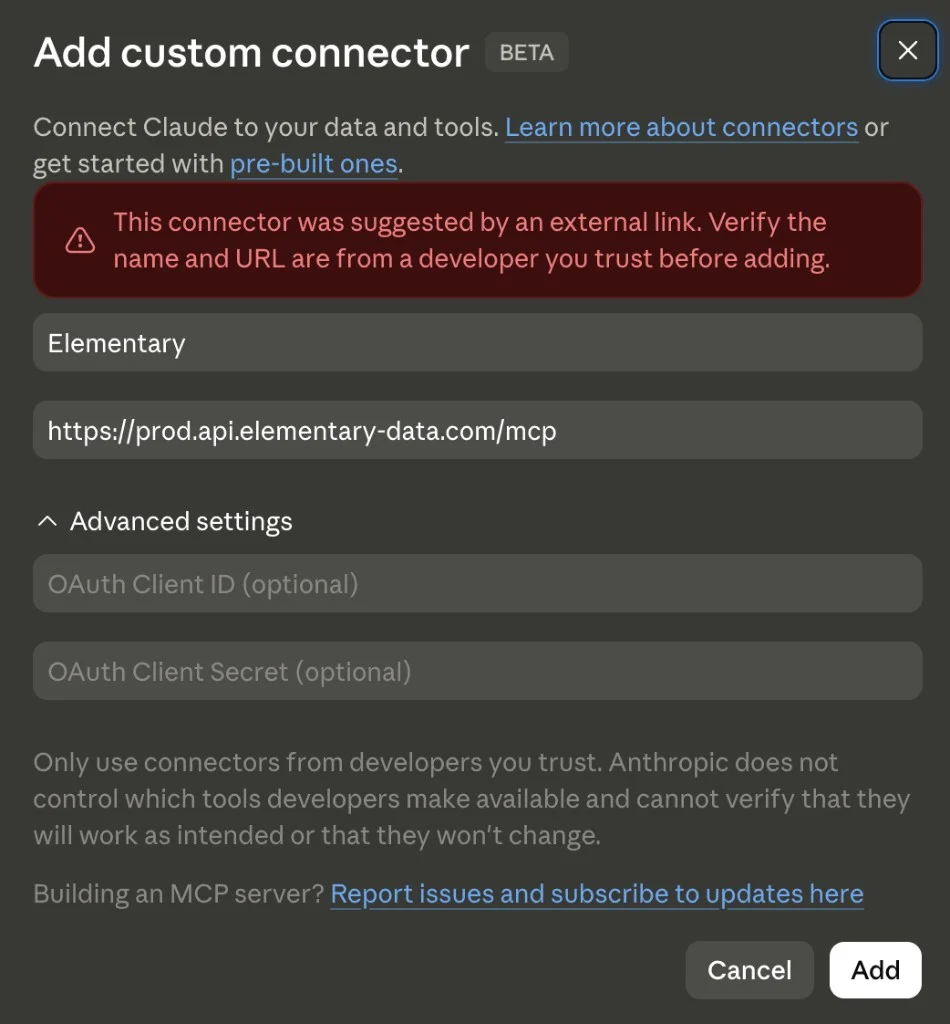
This guide walks you through connecting any MCP-compatible client (Cursor, Claude Desktop, and others) to Elementary’s remote MCP server.The server is available at:
Elementary’s MCP server supports the Streamable HTTP transport with OAuth 2.1 and dynamic client registration.When you start the MCP server for the first time, your client opens a browser window so you can log in with your Elementary account. The MCP server uses your authenticated user’s permissions directly (user-scoped).Use the following config in the client setup steps below:
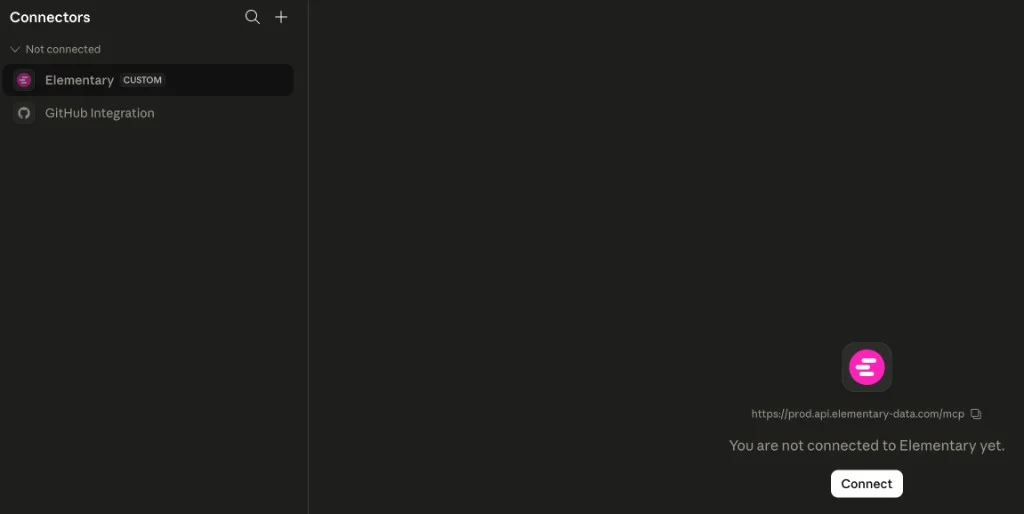
Adding a custom connector is gated by your Claude organization’s admin policy, not by Elementary. If you see a “Missing permissions” banner when opening the add-connector dialog, your Claude workspace role isn’t allowed to add custom connectors. Ask a Claude organization admin to either enable custom connectors for members or add the Elementary connector org-wide.