Create permission set and role
To follow the least privilege security principle, before creating user for Elementary, create a permission set that allows to do only what is needed for Elementary to work.-
Create a Permission Set
- In Looker, go to Admin > Roles. Click “New Permission Set”.
- Name the Permission Set “Elementary permissions” and check the boxes for the following permissions:
access_datasee_lookml_dashboardssee_lookssee_user_dashboardssee_sqlsee_lookmldevelop
-
Create a role
- Click “New Role”.
- Name the role “Elementary Role” as well.
- Select the “Elementary permissions” permission set
- Create the role.
Create a dedicated Elementary Looker user
In Looker, go to Admin > Users.- Click Add Users. Provide any email you want.
- Under Roles, check “Elementary Role”.
- Click Done.
Create an API key for the user
- Find the user you just created and click Edit.
- You can give this user a name like Elementary.
- Under API Keys, click Edit Keys.
- Generate a new API key by clicking New API Key.
- Copy down the client ID and client secret.
Connecting Looker to Elementary
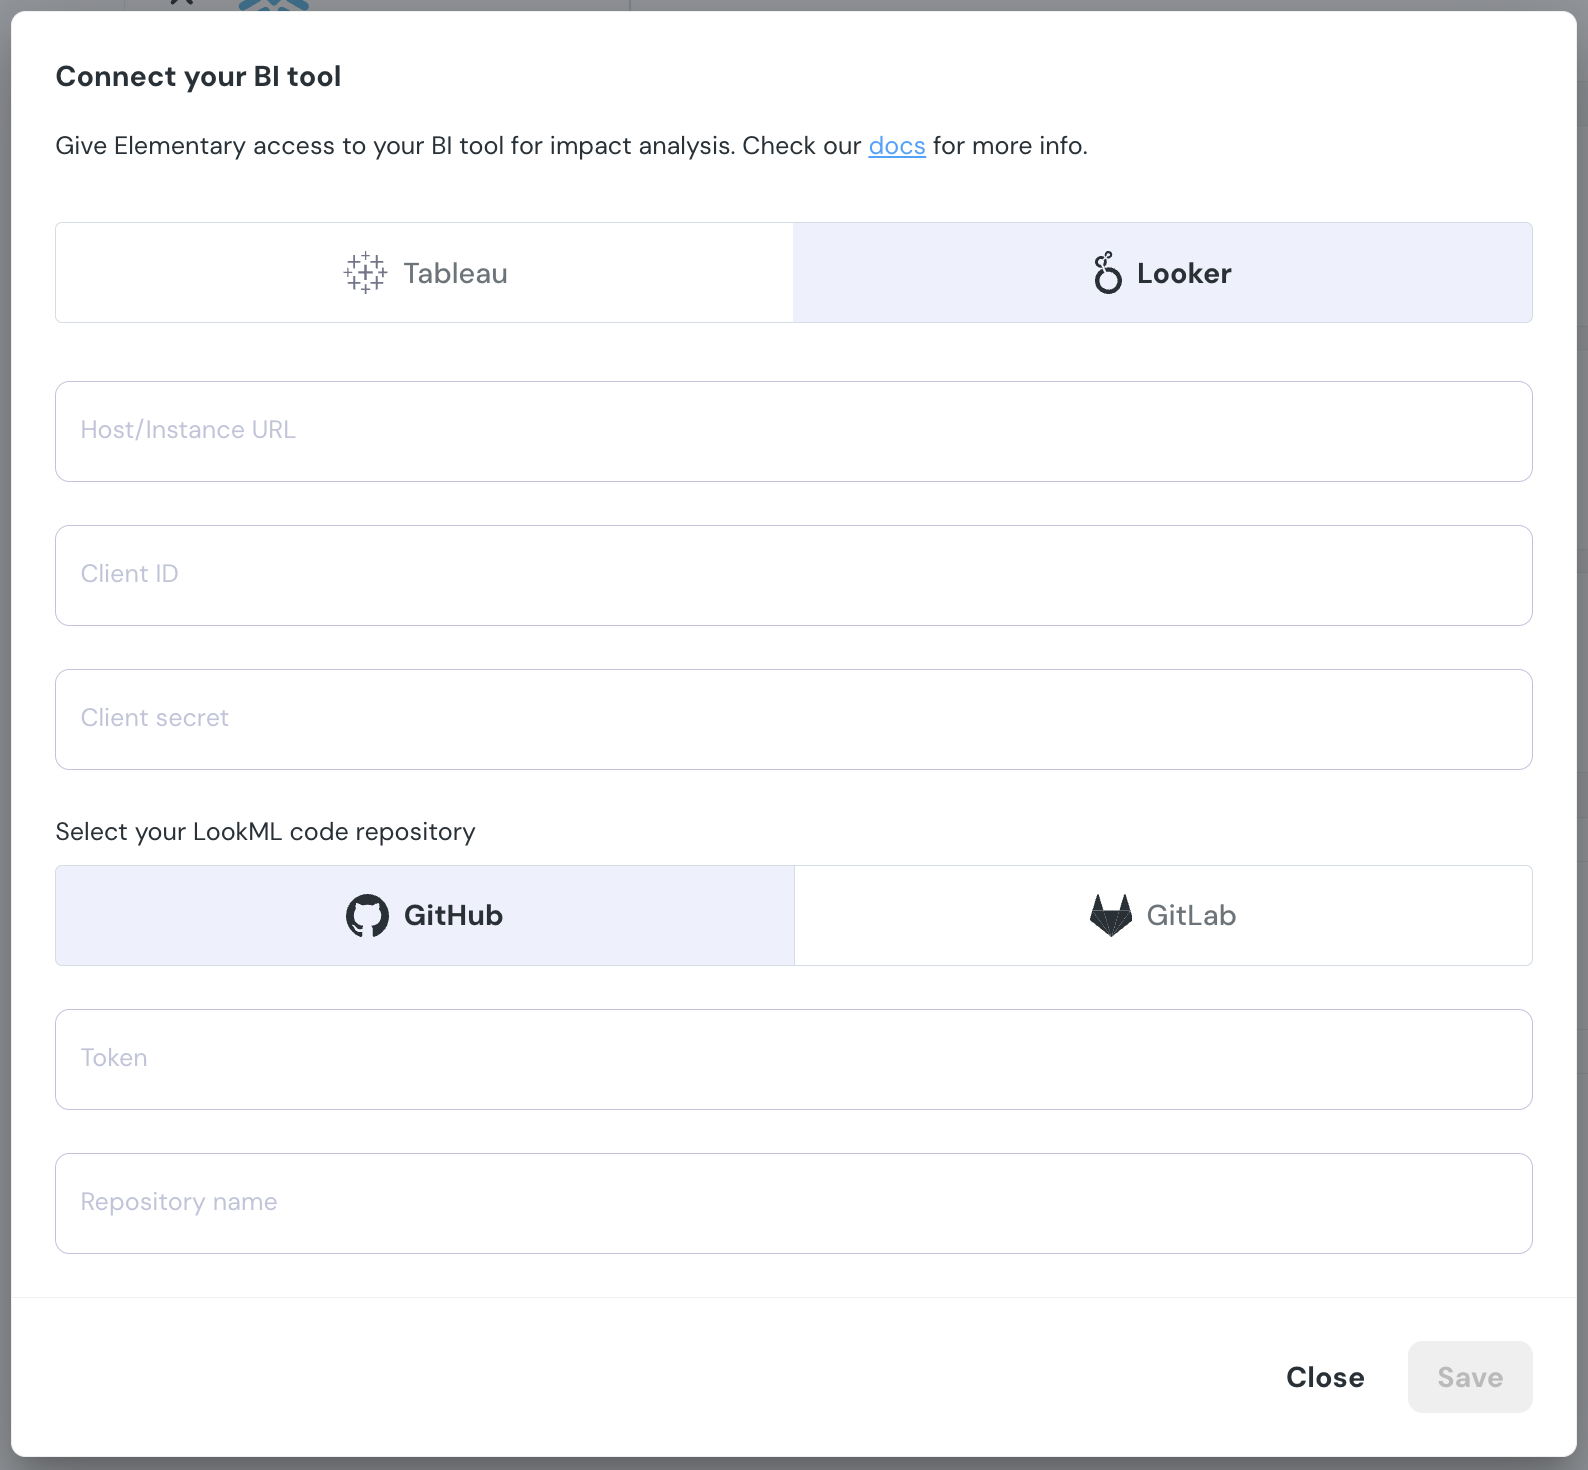
Navigate to the Account settings > Environments and choose the environment to which you would like to connect Looker. Choose the Looker BI connection and provide the following details to validate and complete the integration.- Host URL: Copy and paste the URL you see when you visit the homepage of your Looker instance. e.g. https://company.cloud.looker.com/
- Client ID: The client ID you generated on Looker.
- Client secret: The client secret you generated on Looker.
- LookML code repository:


