How to connect Jira
- Go to the
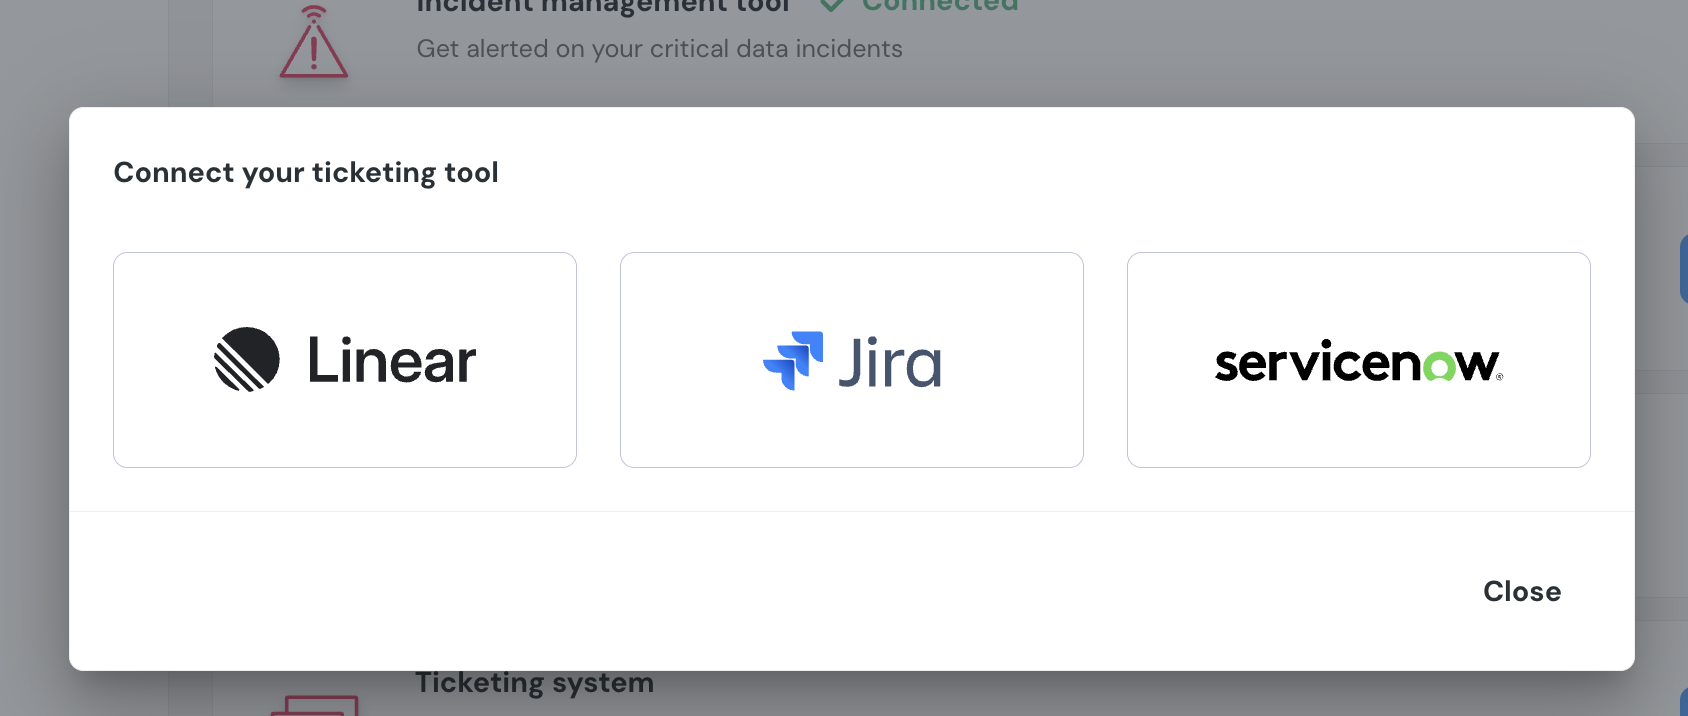
Environmentspage on the sidebar. - Select an environment and click connect on the
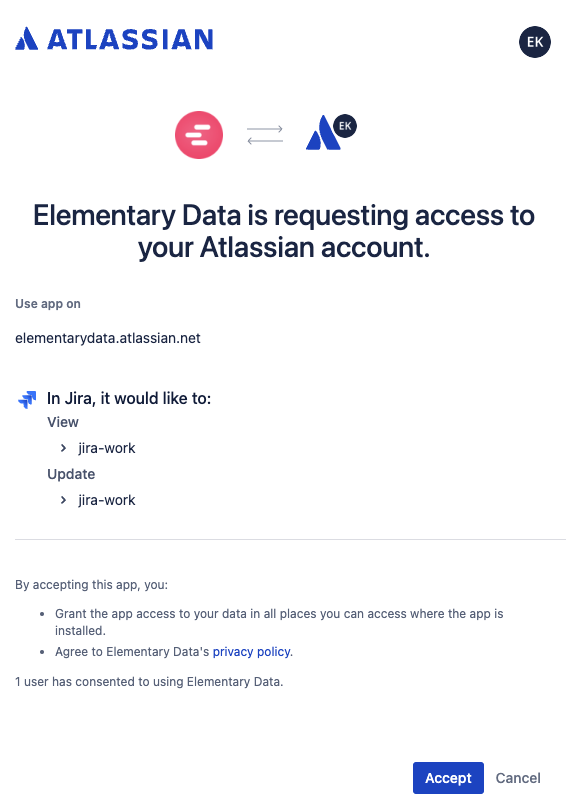
Connect ticketing systemcard, and selectJira. - Authorize the Elementary app for your workspace. This step may require a workspace admin approval.
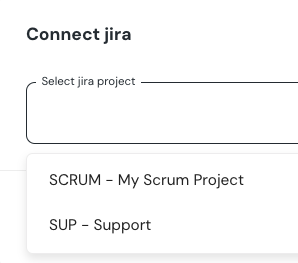
- Select a default project for tickets
- Click
Saveto finish the setup

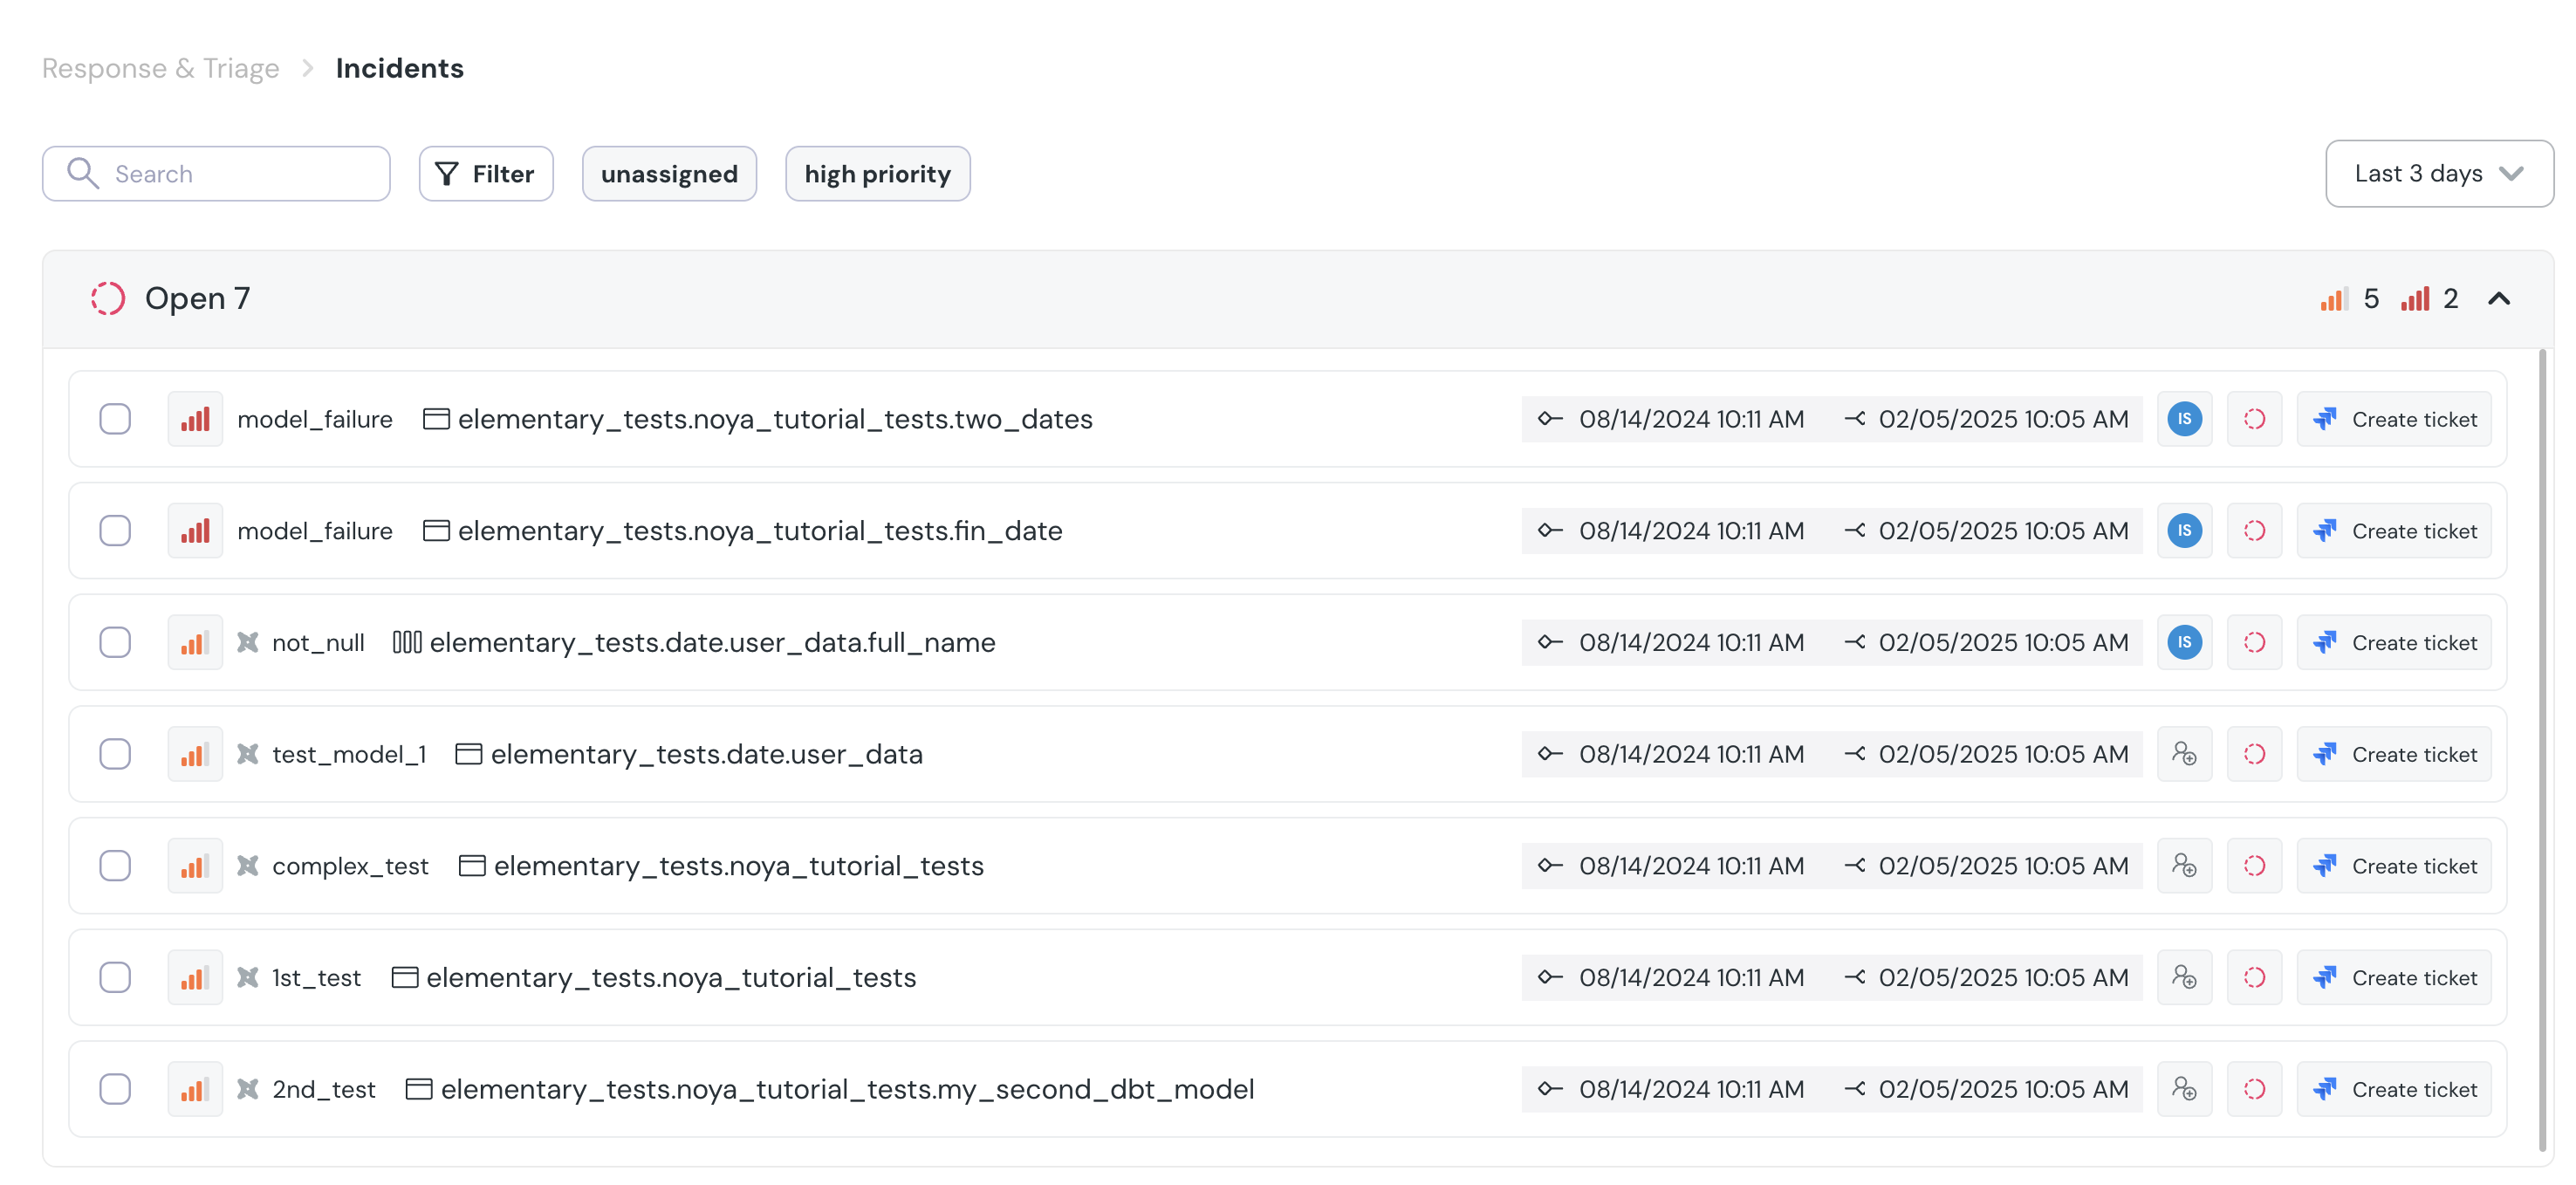
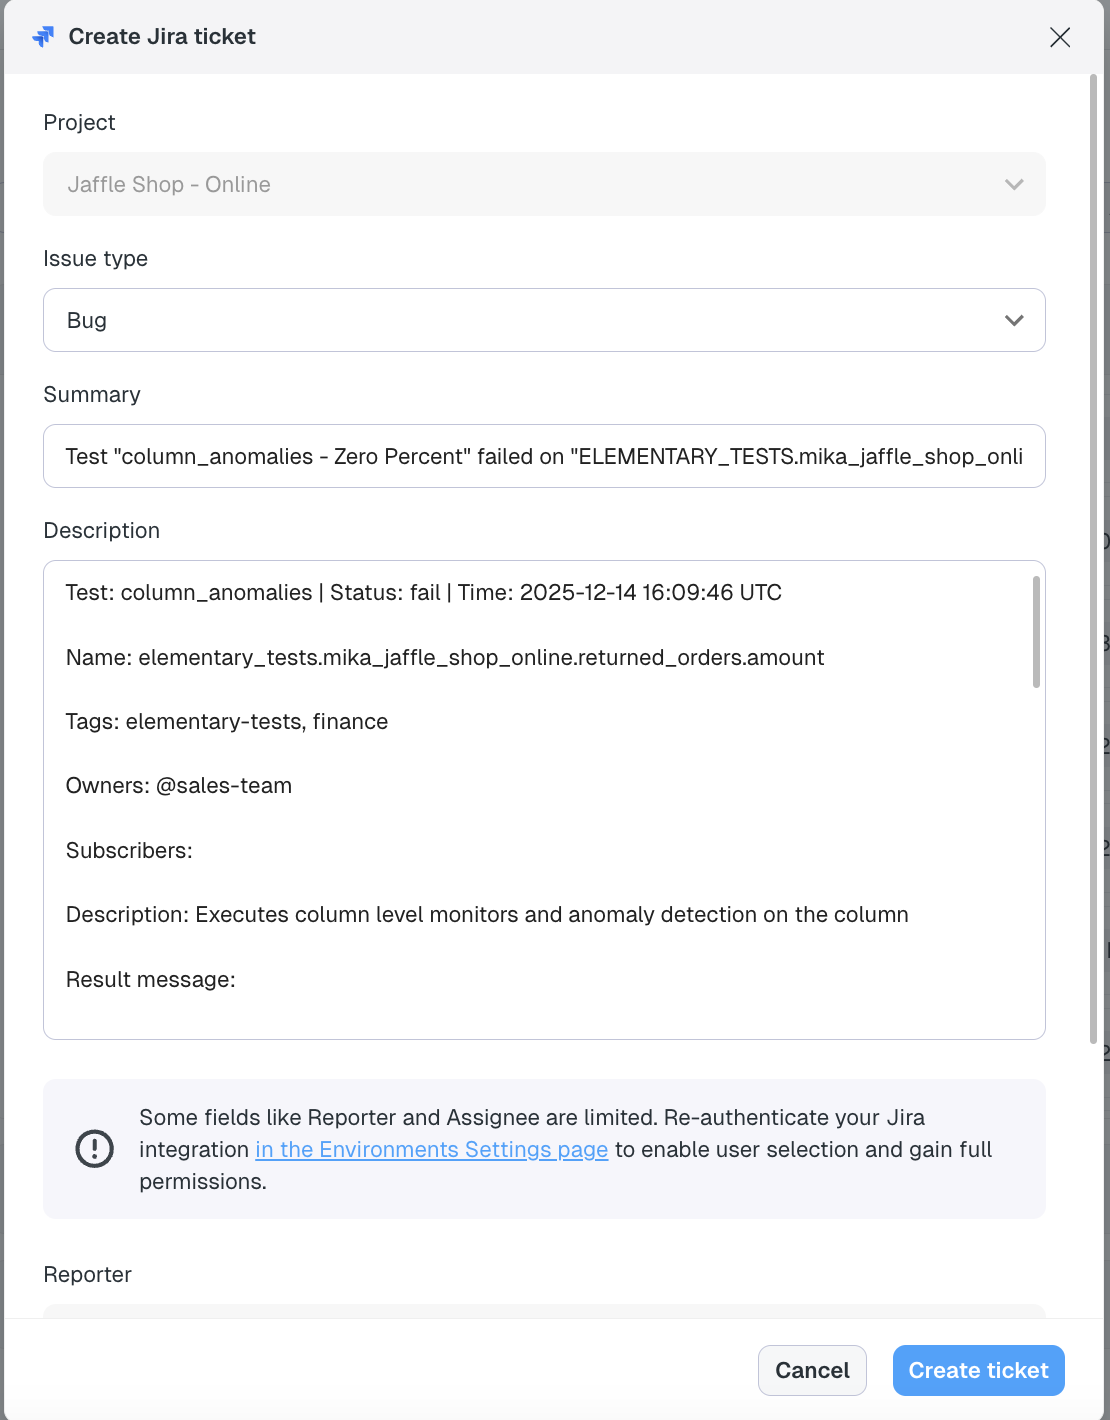
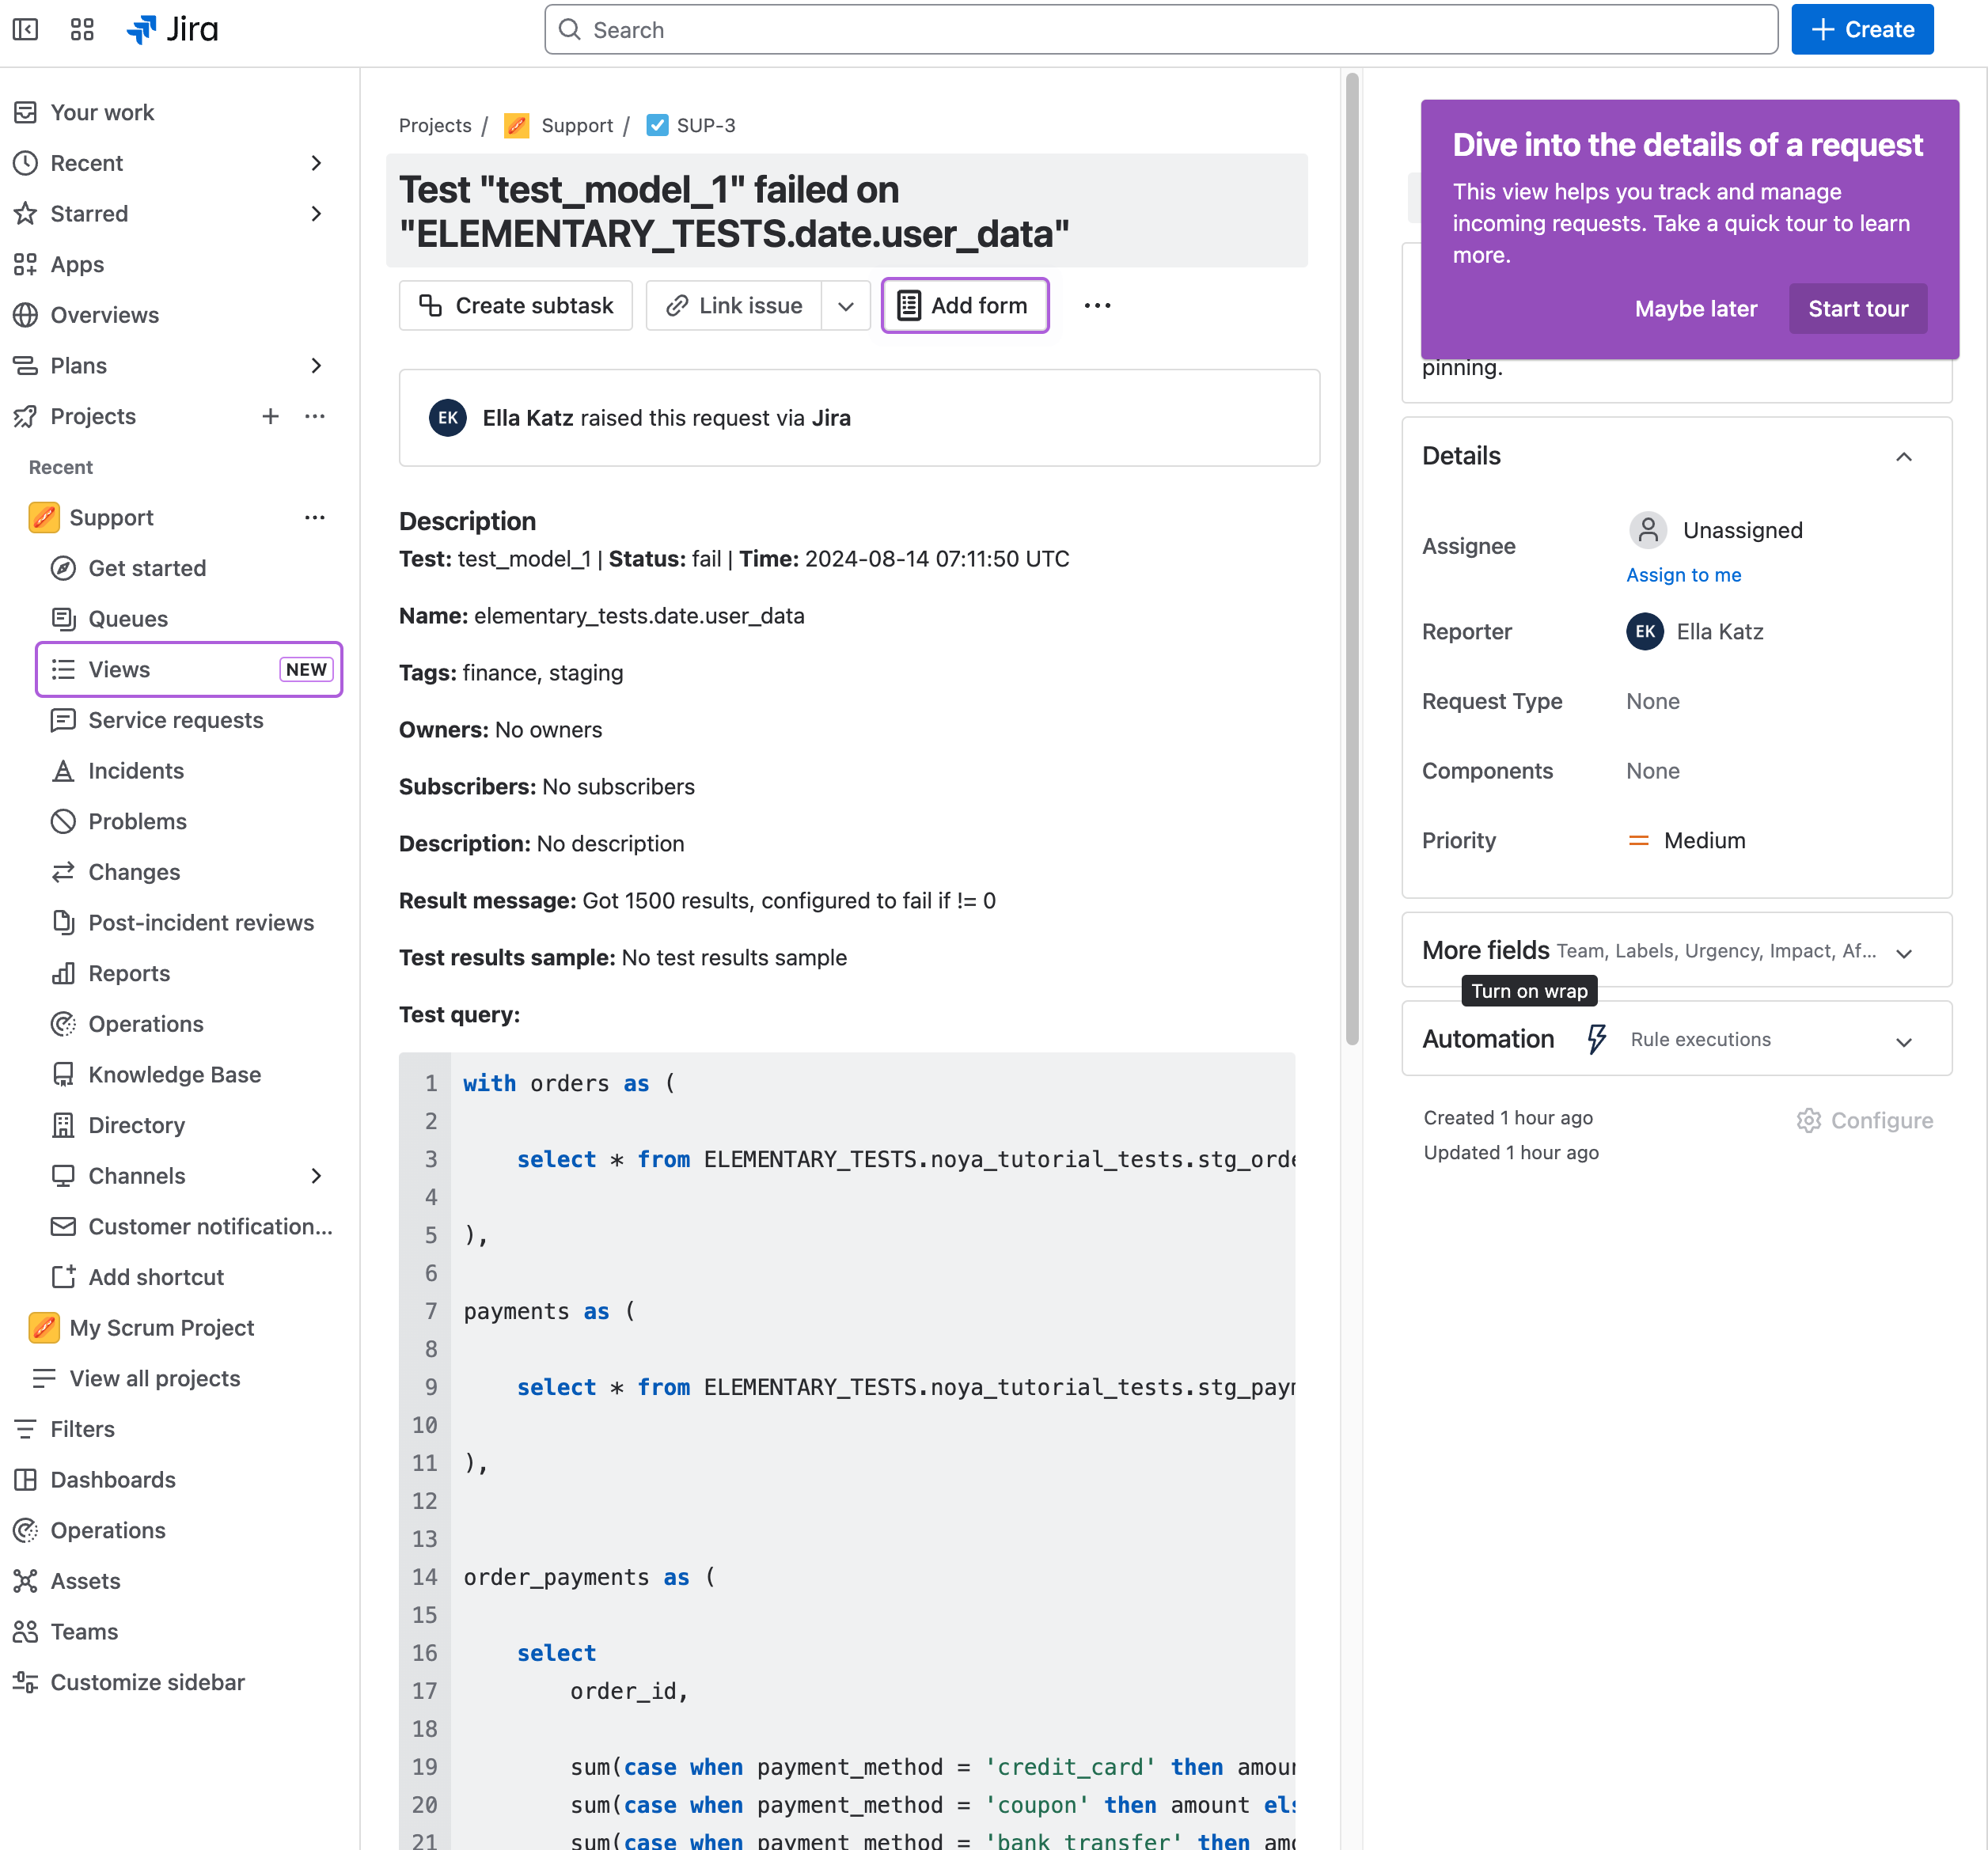
Creating Jira issues from incidents
When an incident is created, you can generate a Jira issue directly from the incident page by clicking Create Jira Ticket. This opens a pre-filled form where you can review, update, or add additional fields before submitting. Once created, the issue is automatically added to the Jira team you selected when connecting Jira. After the ticket is created, a link to the Jira issue appears on the incident page. The Jira ticket itself also includes a link back to the incident in Elementary for easy cross-referencing. If you connected the app before December 2025, you’ll need to re-authenticate the Jira app to change the Reporter or Assignee fields. You can do this by clicking the re-authentication link in the ticket form, or by going to your environment page and re-authenticating the app for the relevant environment.
Configure a Jira webhook for two-way sync
When a webhook is configured, Jira and Elementary stay aligned in real time: for example, closing the Jira issue can close the linked Elementary incident, and resolving the incident can update the Jira issue accordingly. Follow these steps in your Jira instance (Jira admin access required).Step 1: Open Jira webhook settings
- Log in to Jira as an Admin.
- Click the Settings (gear) icon in the top right.
- Under Jira admin settings, select System.
- In the left sidebar, scroll to the bottom and click WebHooks.
- Click Create a WebHook (top right).
Step 2: Fill in the webhook details
Step 3: Select events
- In the Events section, open the Issue category.
- Enable updated only.
- Leave all other event checkboxes unchecked.
Step 4: Scope to your project (recommended)
Limit traffic to the projects you care about using a JQL filter:- Find the JQL filter field on the webhook form.
- Enter:
YOUR_PROJECT_KEY with your Jira project key (for example, PROJ).
Step 5: Save and verify
- Click Create at the bottom of the page.
- After Jira delivers its first event, the webhook status in the Elementary dashboard turns green, which indicates a successful connection.