

Prerequisites
You need a Rootly account with access to create Alert Sources.Create a Generic Webhook Alert Source in Rootly
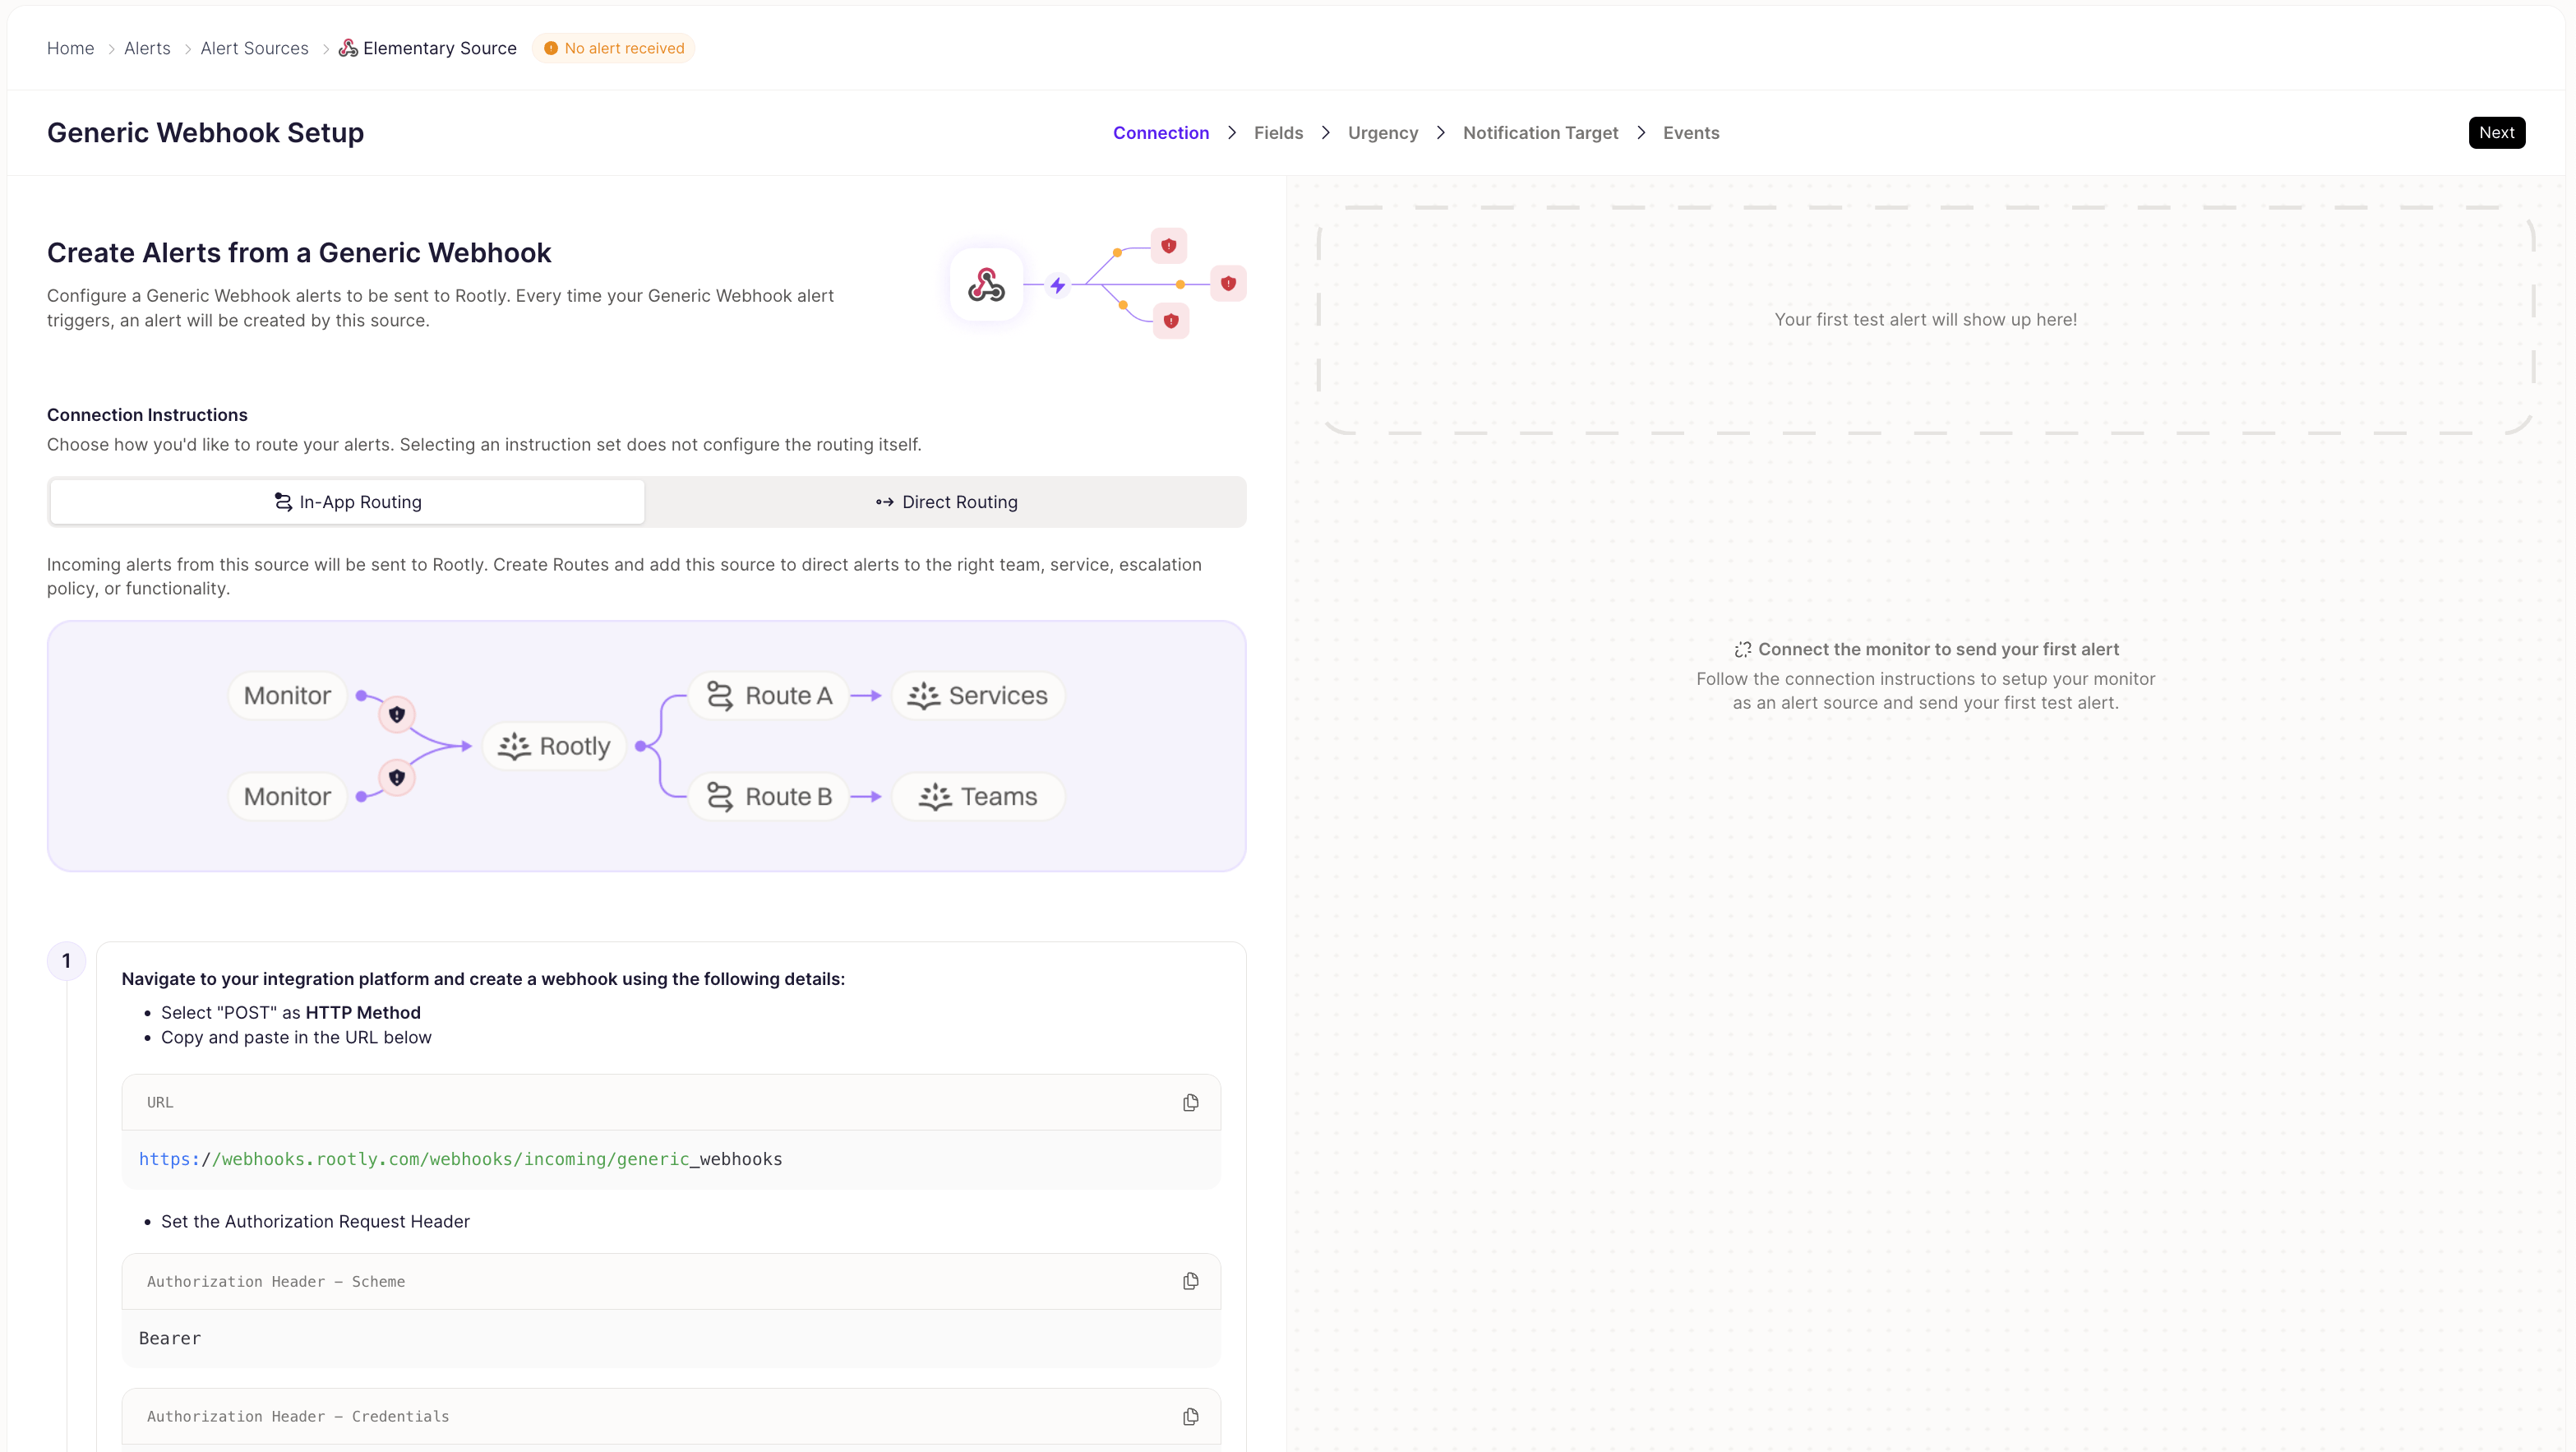
Before connecting Elementary, you need to create a Generic Webhook Alert Source in Rootly:- In Rootly, go to Alerts → Alert Sources and click Add source. Search for Generic Webhook and select it.

- Give the alert source a name (e.g. “Elementary Source”), then choose how alerts from this source should be routed — In-App Routing (build Routes in Rootly based on alert fields, e.g. severity or tags) or Direct Routing (embed a fixed target in the webhook URL). See Routing alerts to a target below for details on both.
- On the same setup page, copy the webhook URL and set the Authorization Header — scheme
Bearer, and a credential value of your choosing. You will need both the URL and the credential when connecting in Elementary.
The Bearer credential is a secret. Keep it secure and do not share it publicly.
Connect Rootly in Elementary
- Go to the Environments page on the sidebar.
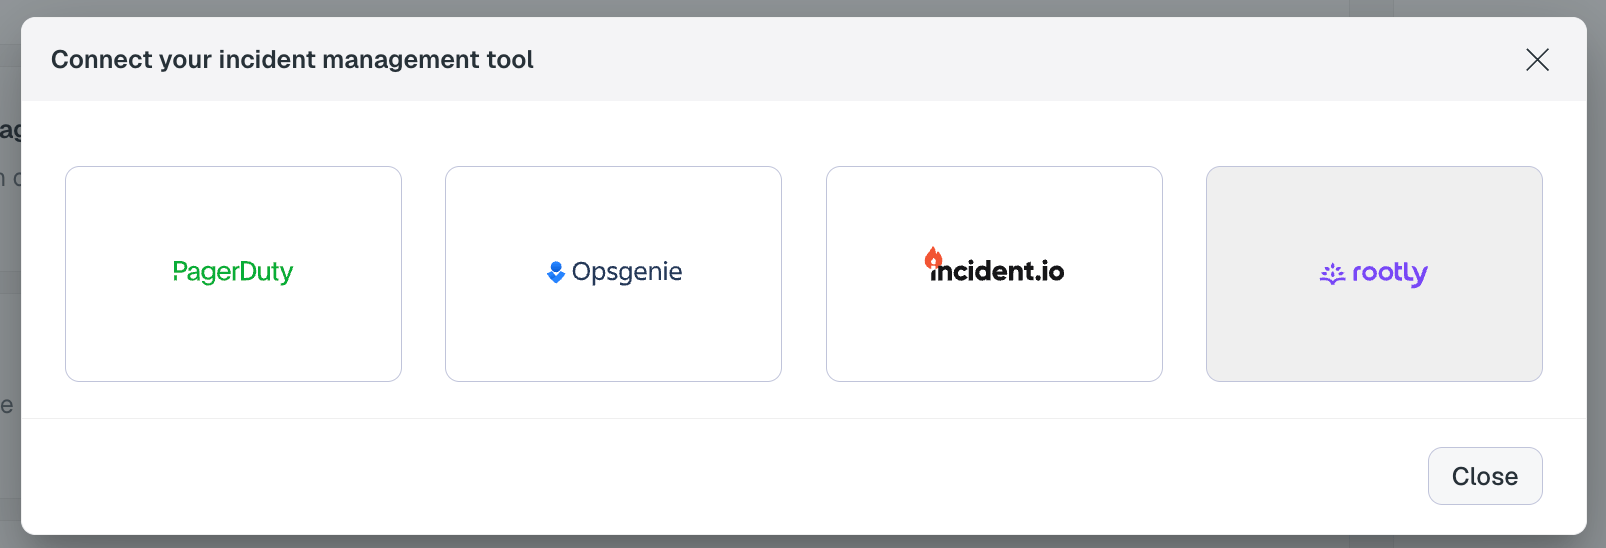
- Select an environment and click connect on the Connect incident management tool card, and select Rootly.
- Fill in the connection details from your Rootly alert source — source name, webhook endpoint URL, and webhook secret (the Bearer credential from the Authorization header) — then expand Test connection to send a test incident and verify the integration is working.
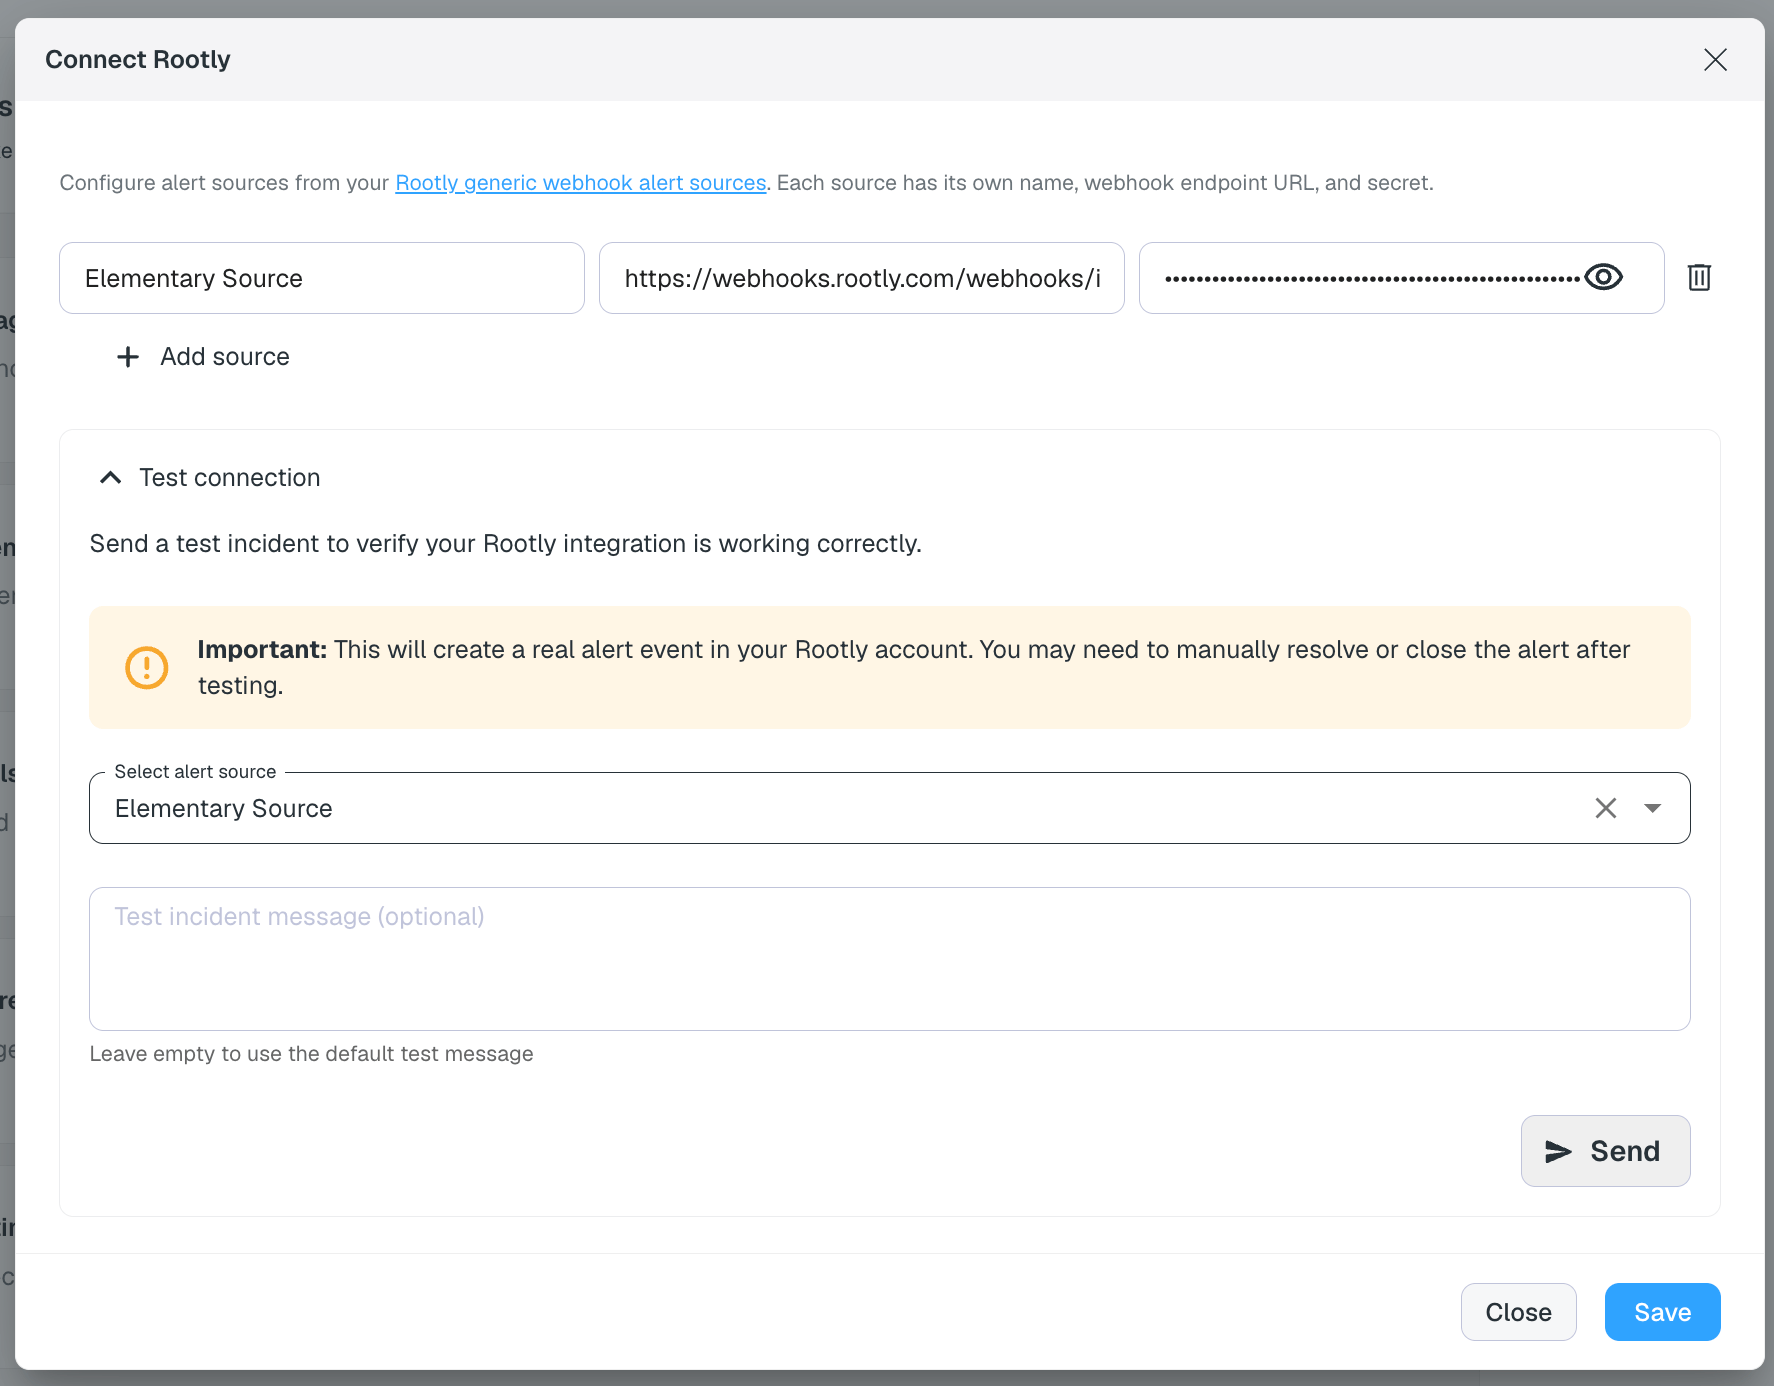
- Click Save. Rootly will now be available as a destination on the alert rules page.
Configure Alert Fields in Rootly
After sending a test alert from Elementary, open the alert in Rootly (or click Send mock alert on the source card for a sample payload without leaving Rootly) and switch to the Payload tab to see the raw JSON. Use it as a reference while mapping fields — click any key to copy its Liquid path.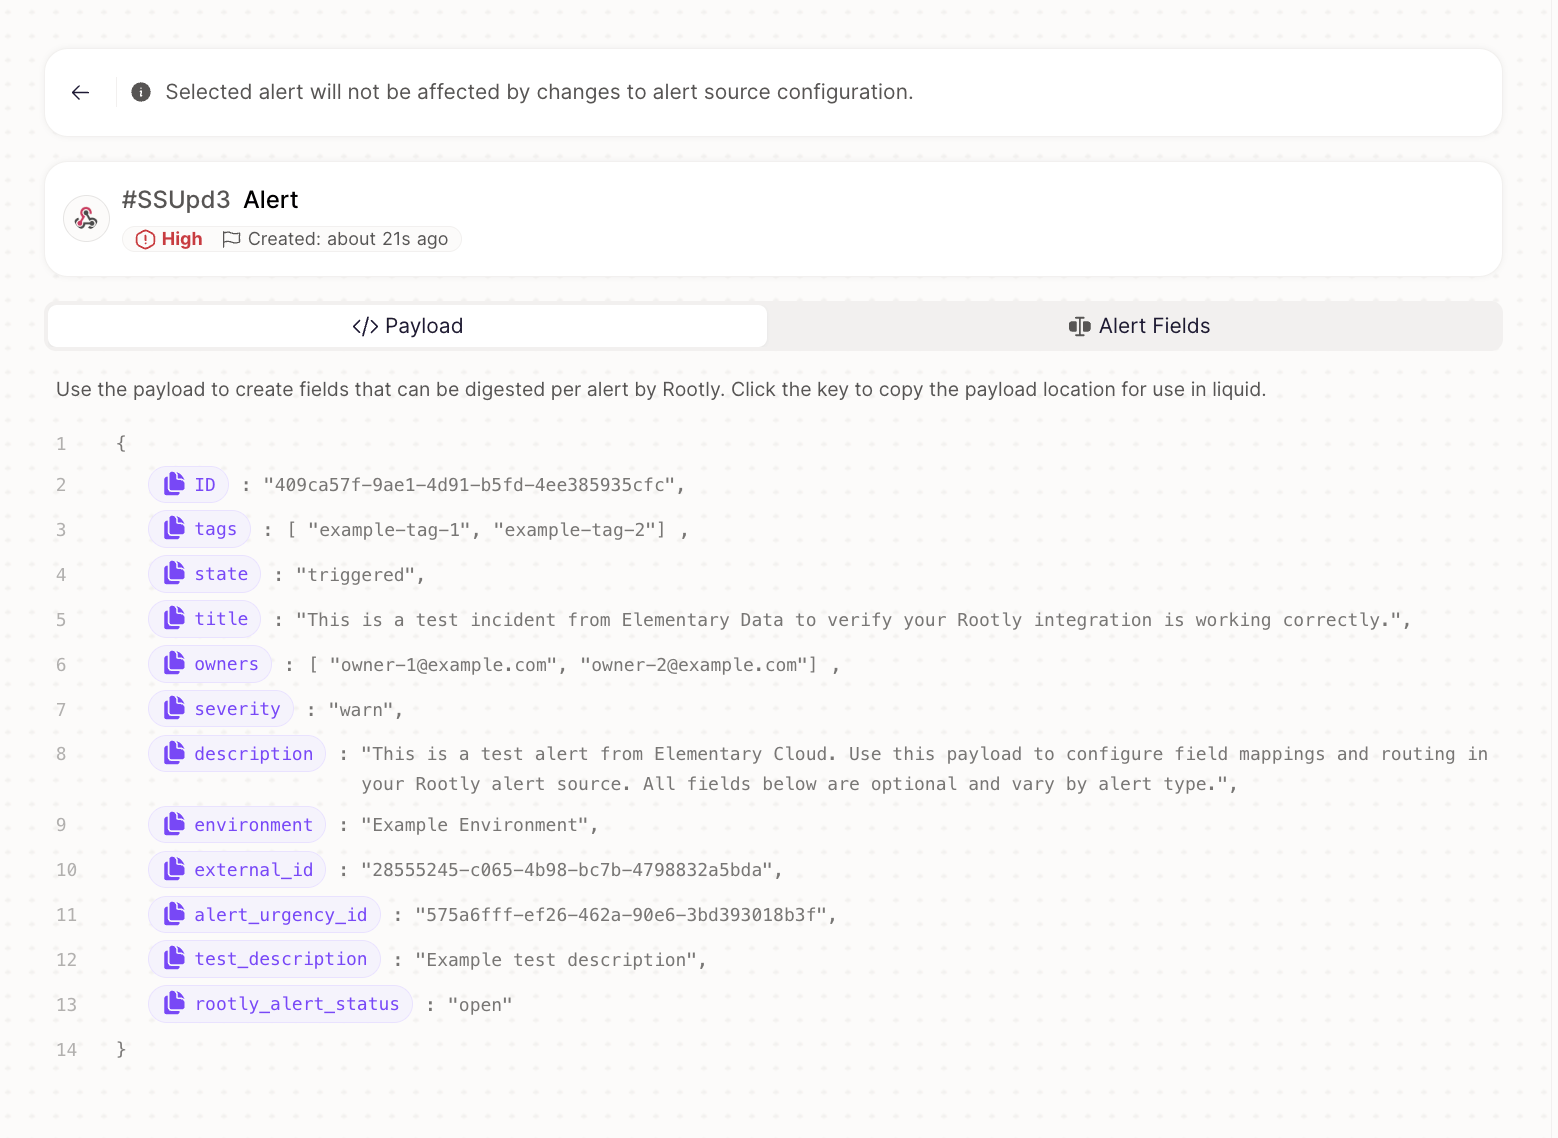
Optional, but useful:
Configure auto-resolution
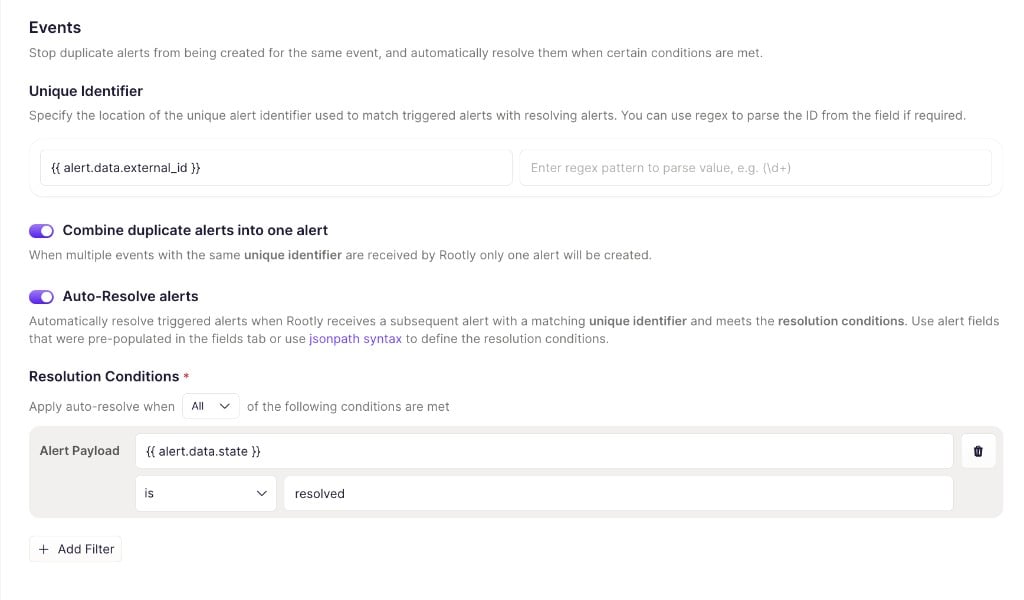
Elementary sends aresolved state event with the same external_id when a previously failing test or model passes again. To have Rootly automatically resolve the alert:
- In the alert source settings, open the Events tab.
- Set Unique Identifier to
$.external_id. - Turn on Combine duplicate alerts into one alert and Auto-Resolve alerts.
- Under Resolution Conditions, set
{{ alert.data.state }}isresolved.
Available fields
Elementary sends the following fields depending on the alert type. All fields are optional — they are included only when the data is available.
Pipeline alerts also include additional fields such as
connector_type, connector_id, sync_id, destination, task_type, and rescheduled_at.
Recommended field mappings
We recommend mapping these fields in Rootly, in addition to the required ones above:severity— enables routing alerts by severityowners— enables filtering and routing by data ownertags— enables filtering by tag
For array fields like
owners and tags, map them to a field type in Rootly that supports multiple values.Routing alerts to a target
When creating the Generic Webhook Alert Source, Rootly asks how alerts from it should be routed. Elementary works with either option:- In-App Routing (default, recommended) — create Routes in Rootly that send alerts to a service, team, or escalation policy based on conditions over the alert fields you map above (e.g. route on
severityortags). This is the most flexible option and lets a single alert source fan out to different targets. - Direct Routing — embed a fixed target in the webhook URL (
.../notify/<type>/<id>) so every alert from that source always routes to the same place. Simplest option if you only need one target; for multiple targets, add multiple Rootly sources in Elementary and route different alert rules to each.